Best fried chicken tenders batter for extra crunch
Table of Contents
Best fried chicken tenders batter for extra crunch
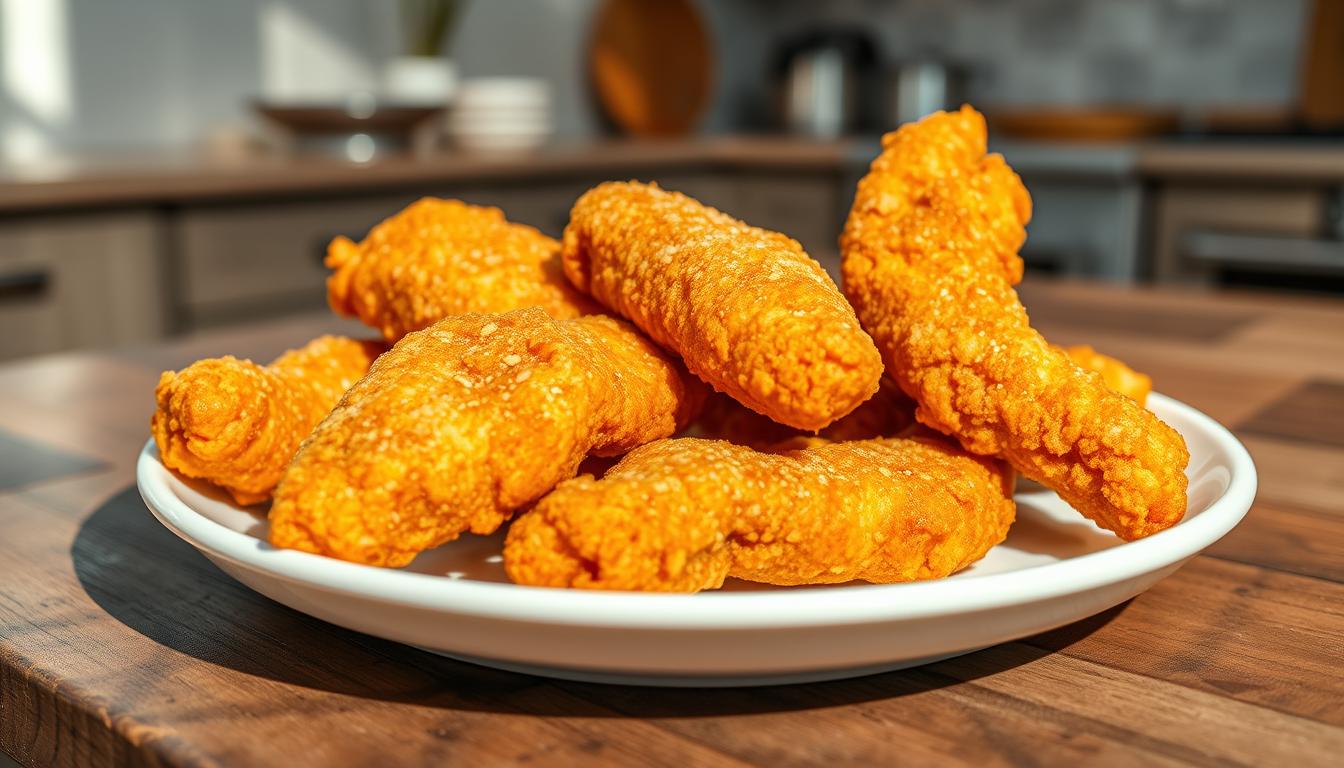
Nothing beats the satisfying crunch of perfectly cooked chicken tenders. Whether you’re serving them as a quick snack or a family meal, the right batter makes all the difference. Imagine biting into juicy, tender meat wrapped in a golden, crispy coating—every bite is pure comfort.
This recipe delivers restaurant-quality results at home. You’ll learn two foolproof methods: a classic flour-egg dredge for maximum crispiness and a buttermilk marinade for deeper flavor. Both techniques guarantee that irresistible contrast between tender meat and a crunchy exterior.
Want an extra-crispy finish? Try double-dredging or adjusting cooking temperatures. Prefer a lighter option? The air fryer adaptation works wonders. Plus, these tenders aren’t just for dipping—toss them on salads or pack them for lunchboxes!
Key Takeaways
- Two methods: classic flour dredge or buttermilk marinade for crispy fried chicken.
- Double-dredging ensures extra crunch.
- Perfect for air fryers if you want a lighter version.
- Versatile—use as salad toppers or kid-friendly meals.
- Nutritional options range from 253kcal to 925kcal per serving.
Why This Fried Chicken Tenders Recipe Works
The secret to perfect crunch lies in the science of breading. All-purpose flour’s protein content creates a sturdy base, while baking powder lifts the coating for airy crispness. Double-dredging locks in layers, ensuring each bite shatters.
Egg wash gives a lighter crunch, but buttermilk marinade tenderizes meat and boosts breading adhesion. Choose based on texture preference—both methods deliver.
“Baking powder’s alkalinity accelerates browning, creating that iconic golden crust.”
Time & Flavor Trade-Offs
| Method | Total Time | Seasoning Style |
|---|---|---|
| Quick Dredge | 55 minutes | Salt, pepper |
| Buttermilk Soak | 4+ hours | Paprika, garlic, cayenne |
Oil temperature is critical. Keep it at 365–375°F to avoid greasiness. Cast iron retains heat best, but a deep pot prevents splatters.
Always verify doneness with a thermometer (165°F). Undercooked meat risks foodborne illness—never guess.
This recipe’s viral fame (41.4K shares) proves its reliability. It’s a community pick for good reason: balanced seasoning, foolproof techniques, and adaptable ingredients.
Ingredients for Crispy Fried Chicken Tenders
Quality components ensure every bite is crunchy outside and juicy inside. Whether you prefer classic flour dredging or buttermilk soaking, each method relies on fresh, well-measured ingredients for optimal texture.
Main Ingredients
Choose between pre-cut tenders or sliced chicken breast. Pre-cut saves time, while breast slices let you control thickness. For the coating:
- Flour: All-purpose works best. Add 1 tsp baking powder per cup for extra lift.
- Wet mix: Egg wash (1 egg + 2 tbsp water) or buttermilk (1 cup per 2 lbs meat).
- Oil: Peanut or vegetable oil for high-heat frying.
Seasoning Blend
Keep it simple with salt and pepper, or amp up flavor:
- 1 tsp garlic powder + 1 tsp paprika for smokiness.
- Pinch of cayenne or red pepper flakes for heat.
- Gluten-free? Swap flour for almond or rice flour.
Pro Tip: Buy spices in bulk to save money. Pre-cut tenders cost more, but whole breasts stretch further.
Step-by-Step Cooking Instructions
Follow these steps to achieve restaurant-quality texture at home. Precision matters—from prep to frying—so organize your workspace first.

Preparing the Chicken
Pat the meat dry with paper towels. Moisture prevents crispiness. Trim excess fat and slice into even strips for uniform cooking.
Set up three stations: a large bowl with flour, another with beaten eggs, and a third with breadcrumbs. This “dredging line” streamlines coating.
Creating the Batter
Combine flour, baking powder, and spices in your first bowl. For extra crunch, some chefs triple-dredge (flour → egg → flour again).
Buttermilk users: soak meat for 10 minutes before dredging. This tenderizes and helps the coating stick.
Frying to Golden Perfection
Heat oil to 350°F in a deep pot. Use a thermometer—guessing leads to greasy results. Fry in small batches to avoid crowding.
| Method | Oil Depth | Time | Doneness Cue |
|---|---|---|---|
| Shallow Fry | ¾ inch | 5–7 minutes | Golden-brown edges |
| Deep Fry | 2 inches | 8–10 minutes | Internal 165°F |
Drain on a wire rack, not paper towels. This keeps the underside crispy. Wait 5 minutes before serving—the coating firms up.
Safety tip: Keep a lid nearby to smother oil flares. Never leave hot oil unattended.
Pro Tips for the Crispiest Results
Achieving that perfect crunch requires mastering a few key techniques. From oil management to coating tricks, these expert strategies guarantee golden, shatter-crisp results every time.

Mastering Oil Temperature
Keep your oil between 365–375°F for ideal crispiness. Use a candy thermometer or test with a flour pinch—if it sizzles immediately, you’re ready. Canola oil works best for its high smoke point (450°F).
Electric skillets offer precise heat control, but cast iron retains temperature better. Adjust the burner if the oil smokes or drops below 350°F.
Breading Adhesion Secrets
Press the coating firmly onto the meat using the “wet/dry hand” method. Keep one hand for wet ingredients (egg wash) and the other for dry (flour) to avoid clumping.
For extra grip, let breaded pieces rest 5 minutes before frying. This helps the coating adhere and reduces flaking.
Air Fryer Adaptation
Set your air fryer to 400°F and cook for 12–15 minutes. Lightly spray the basket with oil to mimic deep-fried texture. Shake the basket halfway for even browning.
Compared to traditional fryers, air fryers use 80% less fat while delivering similar crunch. Perfect for lighter meals.
“Double-frying—a chef’s secret—creates an ultra-crisp shell. Fry once at 325°F to cook through, then again at 375°F for color.”
Troubleshooting Common Issues
- Soggy coating? Drain on a wire rack, not paper towels.
- Breading falls off? Pat meat dry before dredging.
- Uneven browning? Fry in small batches to maintain heat.
Seasoning Variations to Try
Spice up your meal with creative seasoning twists that transform every bite. From smoky to spicy, these blends let you customize flavors to match any craving.
Global Flavor Inspirations
Take your taste buds on a trip with these blends:
- Nashville Hot: Cayenne + brown sugar for sweet heat.
- Korean Gochujang: Mix red pepper flakes with honey.
- Italian Herb: Basil, oregano, and garlic powder.
| Blend | Key Ingredients | Heat Level |
|---|---|---|
| Smoky Chipotle | Chipotle, cumin, paprika | Medium |
| Lemon Pepper | Citrus zest, black pepper | Mild |
| Everything Bagel | Sesame seeds, onion, salt | None |
Heat & Texture Tweaks
Adjust spice levels with ghost pepper (extreme) or paprika (mild). For crunch, add crushed cornflakes or panko to your breading.
“Umami-rich blends—like mushroom powder + nutritional yeast—add depth without extra salt.”
Pro Tip: Air fryer? Use bolder spices—high heat mellows flavors. For low-sodium options, focus on herbs like thyme or rosemary.
Serving Suggestions & Dipping Sauces
Elevate your meal with the perfect pairings and flavorful dips. The right sauce can turn a simple dish into a memorable experience. From tangy to spicy, these ideas will inspire your next meal.
Classic Pairings
Stick with crowd-pleasers or try something new. Honey mustard balances sweetness with a mild kick. For a creamy option, mix mayo with dill and lemon juice.
Here’s a quick guide to popular dips:
| Sauce | Flavor Profile | Best With |
|---|---|---|
| Comeback | Tangy, slightly spicy | Cornbread |
| Sriracha Mayo | Spicy, creamy | Sweet potato fries |
| Ranch | Herby, cool | Fresh veggies |
“A great sauce doesn’t overpower—it complements the crunch.”
Meal Ideas
Turn your dish into a complete meal with these simple ideas. Top a fresh salad for a light lunch. Or, pair with roasted potatoes for a hearty dinner.
For kids, try fun presentations:
- Smiley-face plates with veggie sticks
- Mini skewers with alternating pieces
- Whole-grain wraps with sliced pieces
Leftovers? Use them in tacos or chop for a breakfast hash. The possibilities are endless!
Conclusion
Mastering the perfect crunch comes down to three things: proper dredging, controlled oil heat, and balanced seasoning. Whether you use an air fryer or traditional methods, this recipe adapts easily.
Experiment with gluten-free flour or keto-friendly coatings. Freeze extras for quick meals later—just reheat at 375°F for 10 minutes. These techniques also work for other dishes, like onion rings or fish fillets.
Always keep a lid nearby for safety. Share your creations online—tag #CrispyBites for feedback. Hungry for more? Try buttermilk-marinated pieces or funnel cakes next!
FAQ
how long to fry chicken tenders?
how long to air fry chicken tenders?
how long to deep fry chicken tenders?
how to air fry chicken tenders?
What’s the secret to extra-crispy breading?
Can I bake instead of frying?
How do I prevent the coating from falling off?
What oil is best for frying?
How long should I cook them?
Can I use an air fryer?
What dips pair well with this dish?
how long do you fry chicken tenders?
For more cooking tips, stay connected with us. We also recommend the cookbook Skinnytaste Simple: Easy, Healthy Recipes with 7 Ingredients or Fewer
For more Recipes about Chicken