Easy baked chicken tenders recipes for beginners
Table of Contents
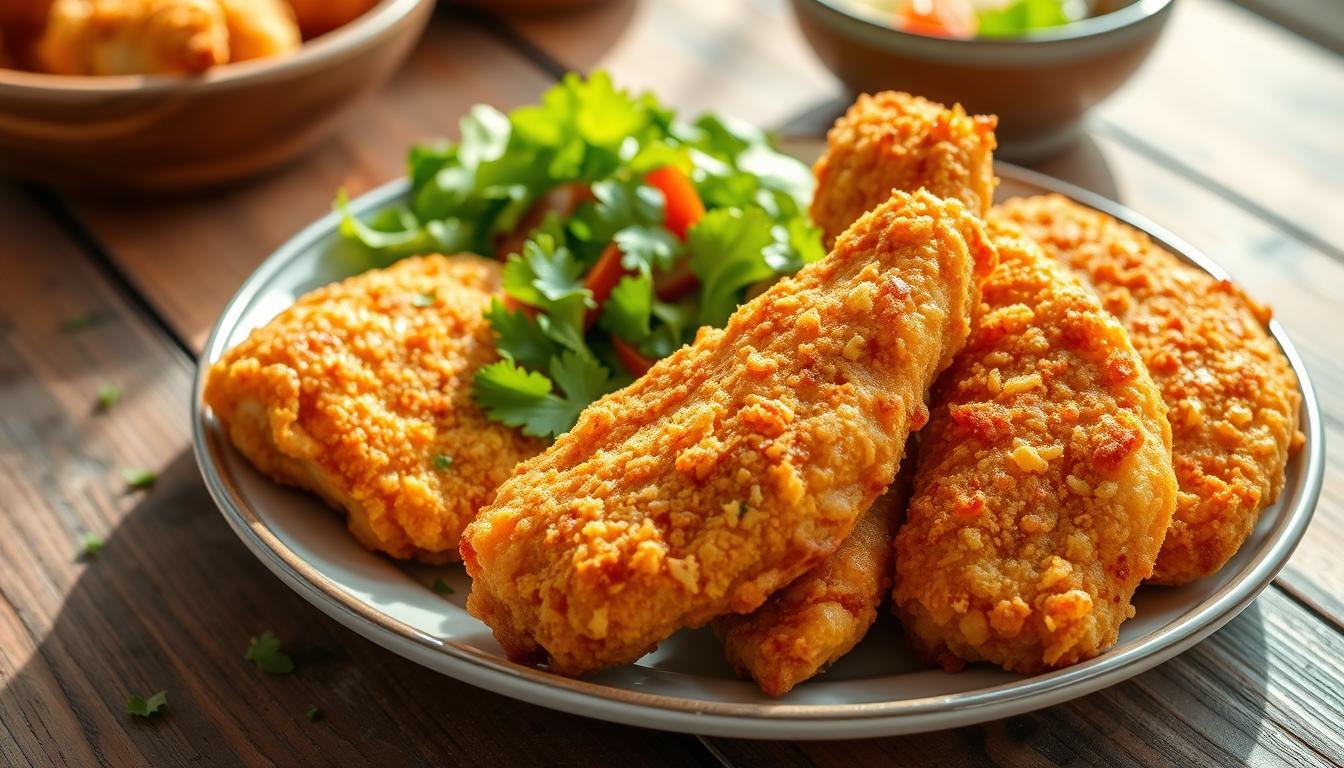
Easy baked chicken tenders recipes for beginners
Ever crave that perfect crispy bite without the hassle of deep frying? You’re not alone. Many home cooks want a quick, healthier alternative that still delivers big flavor. This beginner-friendly method solves that problem in just 35 minutes.
With 32g of protein per serving, these golden strips fuel your day while keeping prep simple. Kids love them, and adults appreciate the Parmesan-paprika twist. Whether it’s weeknight dinners or game-day snacks, this recipe adapts effortlessly.
Tested in standard ovens, air fryers, and with broiler finishes, we guarantee crispy results every time. No fancy techniques—just straightforward steps for juicy, flavorful tenders.
Key Takeaways
- Ready in 35 minutes with minimal prep work
- Packs 63% of your daily protein needs per serving
- Works for family meals, meal prep, or parties
- Three tested cooking methods for flexibility
- Kid-approved flavors with adult-friendly spices
Why You’ll Love This Baked Chicken Tenders Recipes
Want restaurant-quality crunch with less oil and minimal cleanup? This method delivers golden strips with 40% less fat than traditional frying. A light olive oil and panko coating keeps them crispy without the grease.
Set your oven to 400-450°F for perfect results. No need to hover over a fryer—just bake for 25 minutes. The internal temp hits 165°F, ensuring juicy, safe-to-eat strips every time.
Customize flavors with spices like garlic powder or smoked paprika. Prefer gluten-free? Swap panko for almond flour. Meal prep is a breeze—store leftovers in airtight containers for up to 5 days.
| Method | Time | Fat Content |
|---|---|---|
| Baking | 25 minutes | Low (olive oil spray) |
| Frying | 15-20 minutes | High (oil absorption) |
Kids devour them, and adults love the Parmesan-paprika twist. Whether it’s weeknight dinners or game-day snacks, this recipe adapts effortlessly.
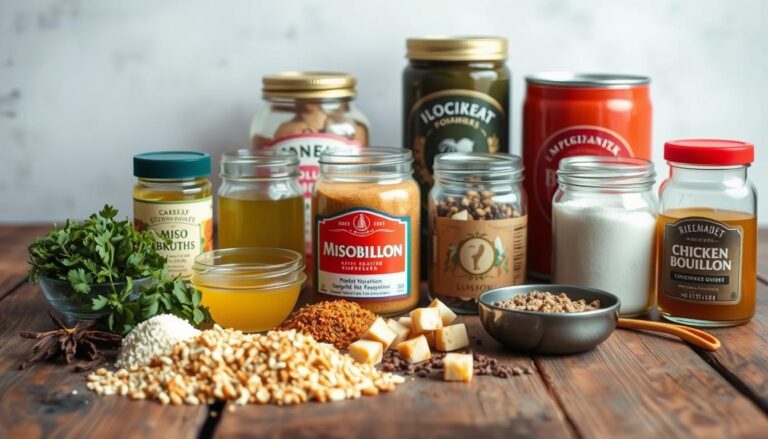
Ingredients You’ll Need
Gather these simple ingredients for golden, crispy results every time. Each component plays a role in texture and flavor, from the airy crunch of panko to the savory kick of spices.
For the Chicken Coating
Panko breadcrumbs create a lighter, crispier crust than regular breadcrumbs. Combine 1⅓ cups with ¼ cup freshly grated Parmesan for depth of flavor. Pre-packaged Parmesan works, but grating it fresh melts evenly.
Choose your binder:
- Egg wash: Whisk 1 egg with ½ cup milk for a classic coating.
- Olive oil: Brush ¼ cup directly for a dairy-free option.
For the Spice Mixture
Mix ¼ teaspoon each of garlic powder, thyme, and paprika with ⅛ teaspoon black pepper. Customize with Italian seasoning or chili flakes for heat.
| Ingredient | Purpose | Substitutes |
|---|---|---|
| Panko | Ultra-crispy texture | Almond flour (gluten-free) |
| Parmesan | Savory umami | Nutritional yeast (vegan) |
Essential tools: A rimmed baking sheet and wire rack ensure even cooking. The rack lifts the strips for airflow, preventing sogginess.
Step-by-Step Preparation
Mastering crispy strips starts with smart prep work—here’s how. Proper technique ensures even cooking and maximum crunch. Follow these stages for foolproof results.
Prepping the Chicken
Pat chicken dry with paper towels. Moisture prevents coating adhesion, so this step is non-negotiable. Trim excess fat for uniform thickness.
Set up a three-bowl station:
- Bowl 1: Flour with ½ tsp salt (helps seasoning stick)
- Bowl 2: Whisked egg + 1 tbsp water (creates glue)
- Bowl 3: Panko, Parmesan, and garlic-paprika blend
Mixing the Breading
Combine 1 cup panko, ¼ cup Parmesan, and spices in a bowl. The ideal ratio? Equal parts garlic powder, paprika, and salt for balanced flavor.
| Ingredient | Purpose | Pro Tip |
|---|---|---|
| Panko | Ultra-crisp texture | Toast lightly for extra crunch |
| Parmesan | Savory depth | Freshly grated melts better |
Use one hand for wet ingredients and the other for dry to avoid clumping. For extra crunch, double-dip: flour → egg → breading → egg → breading again.
Baking Instructions for Perfect baked chicken tenders recipes
Achieving golden perfection requires precise oven techniques—here’s your roadmap. Whether you prefer classic baking or a crispy broiler finish, these methods guarantee juicy interiors with maximum crunch.

Preheat for Success
Always start with a preheated oven at 400°F or 450°F for optimal heat distribution. Lower temps (400°F) cook more evenly, while higher temps (450°F) create faster browning.
Lightly coat your baking sheet with cooking spray or line it with parchment paper. This prevents sticking without adding excess fat.
Coating and Timing Tricks
Arrange breaded strips in a single layer with space between each piece. Overcrowding causes steaming instead of crisping.
- 400°F method: Bake 25 minutes, flipping at 15 minutes with tongs
- 450°F method: Bake 15 minutes, then broil 1-2 minutes for extra crunch
| Temperature | Total Time | Best For |
|---|---|---|
| 400°F | 25 minutes | Even cooking |
| 450°F + broil | 17 minutes | Extra crispiness |
For air fryer users: Cook at 380°F for 12-15 minutes, shaking the basket halfway. Always verify doneness with a meat thermometer—165°F at the thickest part ensures safety.
Customizing Your baked chicken tenders recipes
Transform basic strips into global-inspired bites with these versatile twists. A simple change in spices or coating can take flavors from Mexican fiestas to Asian street food. Whether you need gluten-free options or crave extra heat, these adaptations keep meals exciting.
Spice Variations
Swap the standard garlic-paprika blend for bold alternatives. A dash of cayenne pepper and mustard powder creates a spicy kick. For global flavors:
- Mexican: Chipotle powder + lime zest
- Asian: Sesame seeds + five-spice powder
- Mediterranean: Za’atar + lemon pepper
Italian seasoning works well for a herby profile. Adjust heat levels with ¼ teaspoon increments of chili flakes.
Breading Alternatives
Panko isn’t your only option for crunch. Try these air fryer-friendly swaps:
- Gluten-free: Almond flour or crushed rice cereal
- Keto: Pork rind crumbs + Parmesan cheese
- Extra crunch: Crushed cornflakes or pretzel bits
| Coating | Texture | Best For |
|---|---|---|
| Panko breadcrumbs | Light, crispy | Classic preparation |
| Almond flour | Dense, nutty | Gluten-free diets |
| Crushed pretzels | Super crunchy | Flavor contrast |
Cheese lovers can substitute Parmesan with Pecorino Romano or vegan nutritional yeast. Each option changes flavor and texture while keeping the cooking method the same.
Serving Suggestions
Take your meal to the next level with these serving inspirations. The right combinations transform simple strips into balanced, flavorful plates that satisfy all ages.

Dipping Sauces
Honey mustard shines when mixed 2:1 with Greek yogurt or mayo. Add 1 tbsp each of honey and Dijon for tangy sweetness. This classic sauce pairs perfectly with crispy strips.
For bolder options:
- Avocado lime crema: Blend ripe avocado with sour cream and lime zest
- Spicy sriracha mayo: Mix 3 tbsp mayo with 1 tsp sriracha and garlic powder
- Smoky BBQ: Combine ketchup, molasses, and smoked paprika
Meal Ideas
Build protein-packed lunches with whole wheat wraps and fresh veggies. Add sliced strips with romaine and ranch for a quick handheld meal.
Family-friendly meal ideas include:
- Caesar salad with crispy strips and shaved Parmesan
- Brioche sliders with pickles and honey mustard sauce
- Air fryer sweet potato fries with fruit skewers
For adult gatherings, pair with Chardonnay or citrusy IPA beers. The crisp flavors complement both the seasoning and crunch.
Nutritional Information and Storage Tips
Smart storage extends freshness and maintains texture for your protein-packed meals. Each serving contains 319 calories with 32g protein—enough to keep you full for hours. The coating adds minimal fat compared to deep-fried versions.
Watch sodium levels at 630mg per serving. Use low-sodium Parmesan or reduce seasoning blends if needed. These adjustments don’t sacrifice flavor.
For meal prep:
- Freezing: Layer between parchment paper in airtight containers (up to 3 months)
- Fridge storage: Consume within 3 days for optimal freshness
- Reheating: 350°F for 10 minutes restores crispness
| Method | Time | Texture |
|---|---|---|
| Oven | 10 minutes | Crispy exterior |
| Air fryer | 5 minutes | Even crunch |
| Microwave | 2 minutes | Softer coating |
Divide multiple servings before freezing for easy portion control. Thaw overnight in the fridge for even reheating. Proper techniques preserve both nutrition and that golden crunch you love.
Conclusion
Ready to enjoy golden, crispy goodness with minimal effort? This easy recipe delivers a healthier alternative to takeout, packed with flavor everyone loves. Kids devour them, and adults appreciate the protein boost.
Don’t stop at the basics—experiment with spices or coatings to match your mood. Serve them on salads, in wraps, or as party snacks. The options are endless.
Pro tip: Make a double batch and freeze extras for quick meals. Share your creations online and tag us—we’d love to see your twist!
FAQ
Can I use an air fryer instead of the oven?
What’s the best way to keep the coating crispy?
Can I substitute the spices?
How do I store leftovers?
What dipping sauces pair well?
Can I use chicken breasts instead of tenderloins?
For more cooking tips, stay connected with us. We also recommend the cookbook Skinnytaste Simple: Easy, Healthy Recipes with 7 Ingredients or Fewer
For more Recipes about Chicken