Simple beef jerky marinade recipe Ideas :Delicious Meal
Table of Contents
Simple Beef Jerky Marinade Recipe Ideas
Making your own snacks at home is a rewarding experience. When it comes to creating flavorful and healthy options, a dehydrator is your best friend. Unlike store-bought versions, homemade jerky lets you control the ingredients and customize the taste to your liking.
Using a dehydrator ensures your jerky has the perfect texture, just like the commercial ones. It’s also a cost-effective way to enjoy this snack without preservatives. With lean meat and a simple marinade, you can achieve a smoky flavor that rivals any store-bought brand.
Whether you’re a beginner or a seasoned cook, this guide will walk you through the essential steps. From selecting the right meat to setting up your dehydrator, you’ll learn how to make jerky that’s both delicious and nutritious.
Key Takeaways
- Homemade jerky is cost-effective and customizable.
- A dehydrator is essential for achieving the perfect texture.
- Lean meat and a simple marinade are key ingredients.
- You can control the spice level to suit your taste.
- This method is preferred over oven drying for better results.
Why Make Beef Jerky at Home?
Crafting your own snacks at home offers unmatched benefits. When it comes to homemade beef jerky, you save money while enjoying a healthier option. Store-bought versions can cost $1 to $3 per ounce, but making it yourself averages just $0.50 per ounce. That’s a significant saving over time.
Health is another major advantage. With homemade beef jerky, you control the ingredients. No artificial preservatives or excessive sodium. You can also reduce fat content by choosing lean cuts. This ensures a snack that’s both tasty and nutritious.
Flavor flexibility is a game-changer. Unlike store-bought jerky, which often has limited options, you can experiment with sweet, spicy, or tangy flavors. From honey garlic to fiery pepper, the possibilities are endless.
Some worry about shelf life, but properly dried jerky lasts 1 to 2 months at room temperature. It’s a cost-effective and convenient snack for busy lifestyles. Plus, many reviewers praise the superior taste of homemade versions over store-bought jerky.
In summary, making your own jerky is a smart choice. It’s healthier, cheaper, and lets you tailor the flavor to your liking. Why settle for less when you can have the best?
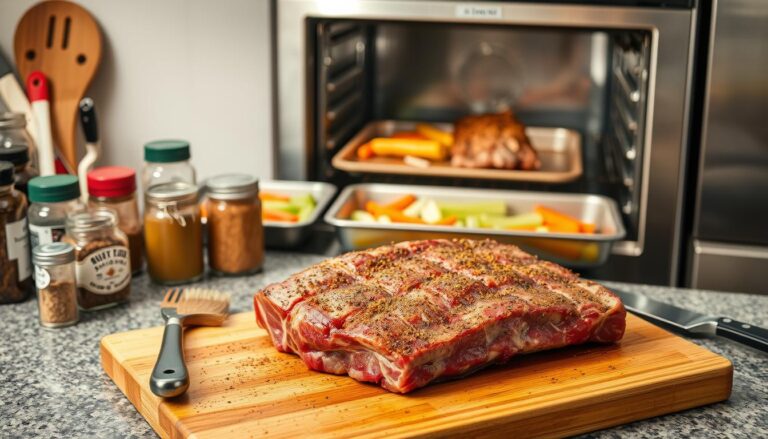
Choosing the Right Cut of Beef
The quality of your snack starts with choosing the perfect cut. For the best results, opt for an eye round roast. This lean cut is affordable and has the ideal texture for drying. It’s also easy to slice into uniform pieces, which ensures even drying.
Fatty cuts like ribeye are not recommended. The fat content can accelerate spoilage, reducing the shelf life of your snack. Instead, focus on lean cuts that provide a healthier and longer-lasting option.
Before slicing, trim any silver skin or excess fat from the meat. This step ensures a smoother texture and better absorption of flavors. Use a sharp knife to remove these unwanted parts cleanly.
Freezing the meat for 1-2 hours makes slicing easier. This step is especially helpful if you want consistent strips of about 1/8-inch thickness. A sharp fillet knife is your best tool for achieving this precision.
While eye round is the top choice, you can also consider pricier alternatives like sirloin or flank. These cuts offer similar benefits but may not be as cost-effective. Stick to eye round for a balance of quality and affordability.
Creating the Perfect Beef Jerky Marinade
Mastering the marinade is the key to achieving a rich, balanced flavor. The right combination of ingredients ensures your snack is both tasty and tender. Start with the basics and build from there.
Essential Marinade Ingredients
The foundation of a great marinade includes soy sauce, brown sugar, and Worcestershire sauce. These ingredients provide a mix of salty, sweet, and umami flavors. Add garlic and onion powder for depth and complexity.
Brown sugar plays a dual role. It enhances the flavor while helping preserve the meat. For a smoky touch, consider adding liquid smoke. If you prefer a hint of sweetness, honey is a great option. Spice lovers can toss in red pepper flakes for a kick.
Balancing flavors is crucial. Too much salt can overpower, while too much sugar can make it overly sweet. Aim for a harmonious blend that complements the meat without overwhelming it. McCormick meat tenderizer with bromelain can also improve texture, making the final product even better.
Be cautious with marinating time. Over-marinating can lead to a mushy texture. Stick to a maximum of 24 hours for the best results. This ensures the meat absorbs the flavors without losing its structure.
Marinating the Beef
Achieving the perfect flavor starts with proper marination. This step ensures every bite is packed with rich, savory tastes. The process is simple but requires attention to detail for the best results.

Marinating Time and Techniques
For deep flavor penetration, marinate your meat for at least 4 hours. However, 12 to 24 hours is ideal. This allows the marinade to fully infuse into the pieces, creating a balanced taste.
Use a ziplock bag for even coating. This method ensures all pieces are fully submerged. The “massage method” is highly effective. Gently massage the bag every few hours to distribute the marinade evenly.
Flipping the bag every 4 hours is recommended. This prevents uneven absorption and ensures consistent flavor. Always marinate in the refrigerator to prevent bacterial growth. Room-temperature marinating is unsafe and should be avoided.
Bowl marinating is an alternative, but it’s less efficient. Bags save space and allow for better coverage. Here’s a quick comparison:
| Method | Pros | Cons |
|---|---|---|
| Ziplock Bag | Even coating, space-saving, easy to flip | Requires plastic bags |
| Bowl | Reusable, no plastic waste | Less efficient, takes up more space |
By following these tips, you’ll ensure your meat is perfectly marinated. This step is crucial for achieving the rich, flavorful results you’re aiming for.
Preparing the Dehydrator
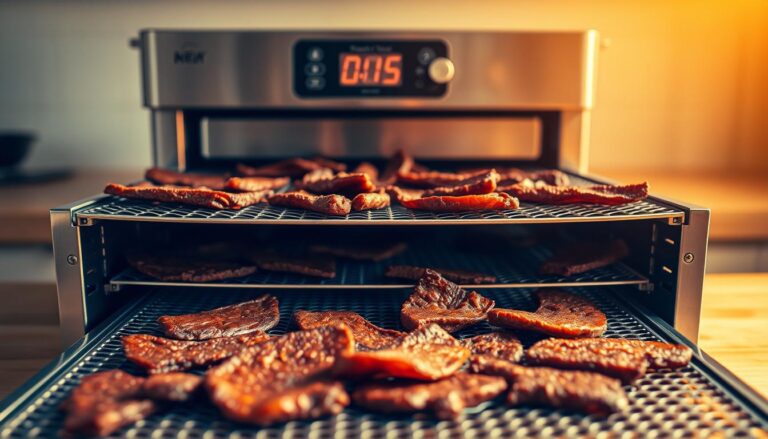
Setting up your dehydrator correctly is essential for perfect results. Proper preparation ensures even drying and the ideal texture for your snack. Start by selecting the right temperature and arranging your strips carefully.
Dehydrator Settings and Tips
Set your dehydrator to a temperature range of 160°F to 175°F. This low heat ensures the meat dries without cooking. Overlapping strips can lead to uneven drying, so arrange them in a single layer on the rack.
Here’s a quick comparison of dehydrator models:
| Model | Pros | Cons |
|---|---|---|
| Horizontal Airflow | Even drying, no flavor mixing | Larger footprint |
| Vertical Airflow | Compact, space-saving | Potential flavor mixing |
For easier cleanup, place parchment paper under the racks. This prevents sticky residue and simplifies maintenance. Preheating your dehydrator is also crucial for consistent results. Allow it to warm up for 10-15 minutes before adding the strips.
By following these tips, you’ll ensure your dehydrator is ready to deliver perfectly dried snacks every time.
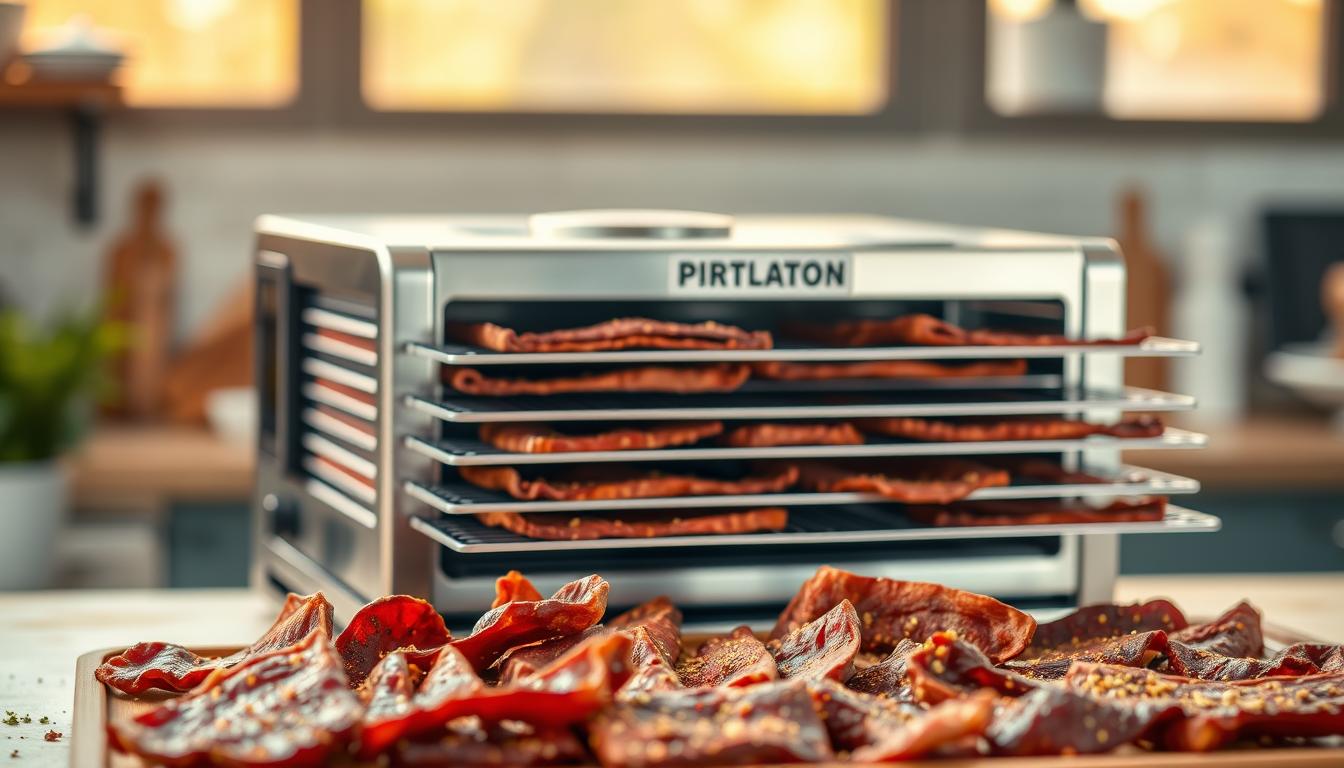
Drying the Beef Strips
Perfecting the drying process is the final step to achieving a delicious snack. Proper drying ensures the perfect texture and flavor, making your efforts worthwhile. The goal is to remove moisture while preserving the savory taste.

Checking for Doneness
Visual cues are your first indicator. The strips should have a leather-like appearance with no visible moisture. If they look shiny or wet, they need more time to dry.
Perform the bend test to confirm readiness. When bent, the strips should crack but not snap. This ensures they are firm yet flexible, ideal for snacking.
Check the progress every few hours, especially after the first 3 hours. This prevents over-drying and ensures consistent results. Adjust drying time based on your environment. High altitude or humidity may require additional hours.
Troubleshooting Tips
If your strips are under-dried, return them to the dehydrator for another hour. Over-dried batches can be softened by storing them with a slice of bread in an airtight container. This helps restore moisture without compromising the texture.
By following these steps, you’ll achieve perfectly dried strips every time. The result is a snack that’s flavorful, chewy, and ready to enjoy.
Storing Your Homemade Beef Jerky
Proper storage ensures your homemade snacks stay fresh and flavorful. The right method can extend their shelf life and maintain their quality. Whether you prefer pantry, fridge, or freezer storage, here’s how to keep your creations in top condition.
Choosing the Right Storage Containers
Your choice of container plays a big role in preserving your snacks. Mason jars are a great option because they prevent odor absorption and are reusable. For long-term storage, vacuum-sealed bags are ideal. They remove air, which helps prevent spoilage and extends the shelf life.
Here’s a quick comparison of the two:
| Container | Pros | Cons |
|---|---|---|
| Mason Jars | Reusable, odor-proof, eco-friendly | Bulkier, not airtight without special lids |
| Vacuum-Sealed Bags | Airtight, space-saving, long-term storage | Single-use, requires a vacuum sealer |
Shelf Life and Storage Conditions
How you store your snacks affects how long they last. At room temperature, they’ll stay fresh for about 1 week. In the refrigerator, they can last up to 3 months. For the longest storage, freeze them in a vacuum-sealed bag for up to 1 year.
Avoid condensation in your containers. Moisture can lead to mold, which ruins your snacks. To prevent this, ensure your snacks are completely dry before storing them. Adding a silica gel pack can also help absorb excess moisture.
Rehydrating Over-Dried Snacks
If your snacks turn out too dry, don’t worry. You can rehydrate them by placing them in an airtight container with a slice of bread. The bread will add moisture back into the snacks, making them chewy again.
“Proper storage is the key to enjoying your homemade snacks for weeks or even months.”
By following these tips, you’ll ensure your snacks stay fresh, flavorful, and ready to enjoy whenever you need them.
Conclusion
Creating your own snacks at home is both fun and rewarding. With a dehydrator, you can enjoy a healthier, preservative-free option that’s tailored to your taste. According to taste testers, homemade versions are preferred over store-bought ones for their freshness and flavor.
Experiment with different seasonings to find your perfect recipe. Whether you prefer sweet, spicy, or smoky, the possibilities are endless. Tools like the Oklahoma Joe’s dehydrator and vacuum sealers can make the process even easier.
Don’t forget to share your creations in the comments! We’d love to see your unique twists. For a final pro tip, consider making double batches. They’re perfect for gifting or taking on your next hiking trip.
FAQ
What is the best cut of meat for making jerky?
How long should I marinate the meat?
Can I use an oven instead of a dehydrator?
What are the essential ingredients for a good marinade?
How do I know when the jerky is done?
How should I store homemade jerky?
Can I add spices for extra heat?
Is it necessary to trim the fat from the meat?
For more cooking tips, stay connected with us. We also recommend the cookbook Skinnytaste Simple: Easy, Healthy Recipes with 7 Ingredients or Fewer
For more Recipes about Beef?