Step-by-Step Tips for Building a Chicken Coop That Feels Like Home
Table of Contents
Why Building a Chicken Coop is More Than Just a DIY Project
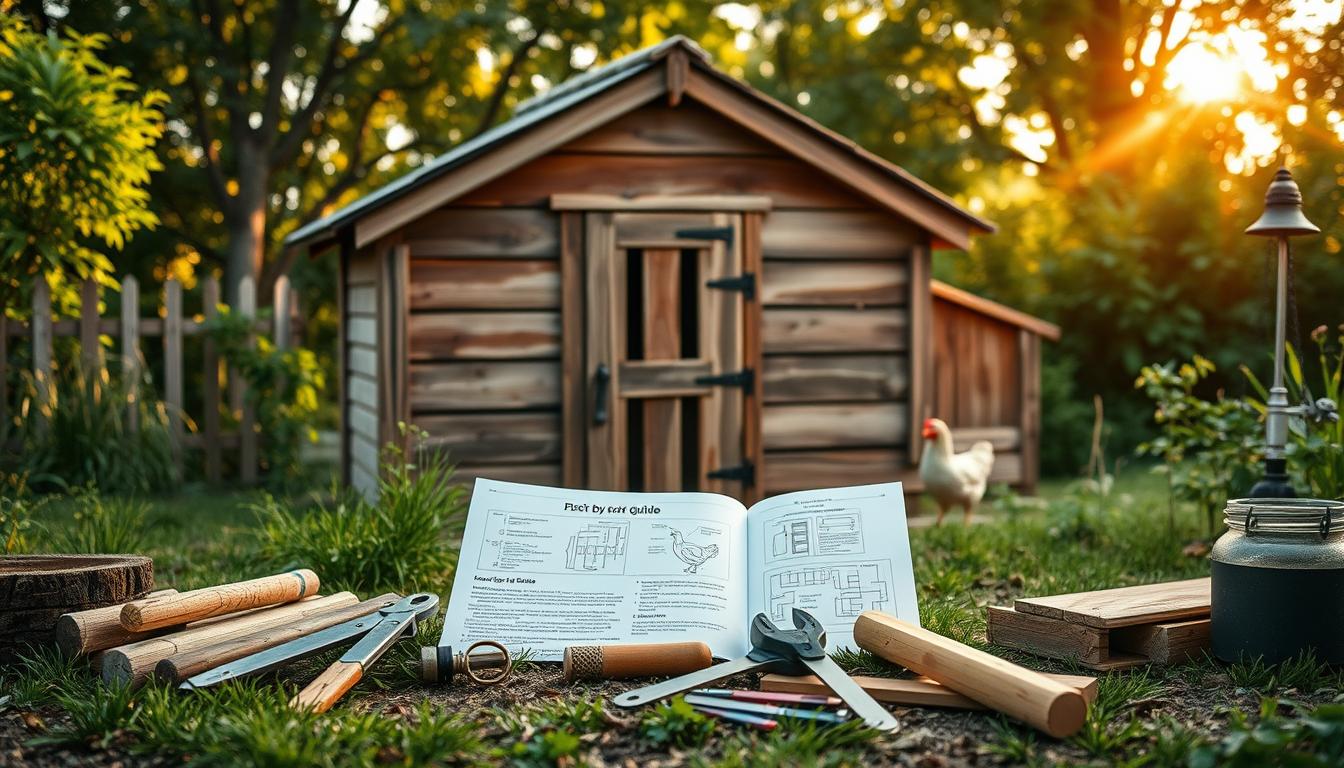
Imagine the scent of fresh hay, the satisfying sound of hens clucking contentedly, and the joy of collecting warm eggs each morning from your very own backyard. Building a chicken coop isn’t just about nails and lumber—it’s about creating a secure, welcoming space for your flock and a step toward self-reliance, health, and a more fulfilling lifestyle. You’re not just constructing a coop; you’re building a lifestyle that connects you with nature, your food, and your family in a new way.
Whether you’re a hobbyist, a small-scale farmer, or someone looking to make more sustainable food choices, this guide will walk you through every phase of building a chicken coop, even if you’ve never picked up a hammer before.
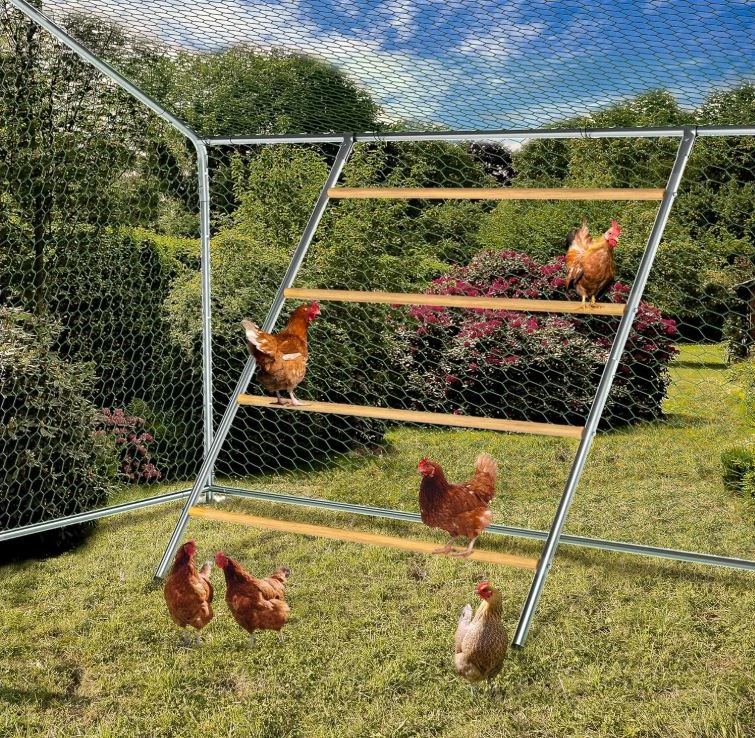
Click here if you are interesed :Perfect for Backyard Poultry, Easy Installation &,Farm Roost Toys for Chickens (55′ L x 40′ W)
Planning Your Chicken Coop: The First Essential Step
Choosing the Right Location
Before you lift a single tool, you need to pick the perfect spot. Here’s what you need to consider:
- Sunlight and Shade: Chickens thrive with a balance of light and shade. Aim for morning sun and afternoon shade.
- Drainage: Avoid low-lying, soggy areas. Choose higher ground to prevent flooding.
- Accessibility: Make sure the coop is easy for you to access daily—convenience is key.
- Proximity: Close enough to your home for quick checks, but far enough to avoid any unwanted odors or noise.
Deciding on the Coop Size
Start by planning how many chickens you want. A general rule:
- Inside the coop: 2–3 square feet per chicken
- Outdoor run: 8–10 square feet per chicken
Also, check your local regulations or HOA rules. Some areas limit how many chickens you can keep or require permits.
Gathering Tools and Materials
Before you dive in, gather everything you need. It saves time and helps avoid mid-project trips to the hardware store.
Must-Have Tools
- Hammer
- Power drill
- Measuring tape
- Circular saw or hand saw
- Level
- Wire cutters
Material List
| Material | Purpose |
|---|---|
| Pressure-treated wood | Frame and base structure |
| Chicken wire or hardware cloth | Predator-proof fencing |
| Plywood or OSB | Coop walls and floor |
| Shingles or metal roofing | Roof protection from elements |
| Hinges, screws, and latches | Doors and nesting boxes |
Use weather-resistant materials to extend the life of your coop and minimize maintenance.
Step-by-Step Instructions for Building a Chicken Coop
Step 1: Laying the Foundation
A solid base is crucial. Choose from:
- Concrete blocks for a permanent structure
- Wooden skids for portability
- Gravel base for simple drainage
Level the ground and ensure it’s raised to prevent flooding.
Step 2: Framing the Coop
Build a rectangular frame:
- Use 2×4 lumber for walls
- Leave openings for windows and doors
- Construct roof trusses for angled roofing
Make sure your frame is square and stable before moving on.
Step 3: Adding Walls and Roof
- Attach plywood panels to the frame
- Cut out windows and ventilation holes
- Install roofing material at a slope for rain runoff
Use weather-resistant paint or sealant for extra protection.
Step 4: Installing Doors and Nesting Boxes
- Use strong latches to secure doors
- Install one nesting box per 3-4 chickens
- Boxes should be 12″x12″, off the ground, and filled with straw
Hinged doors make cleaning and egg collection easy.
Step 5: Creating the Outdoor Run
The run gives your hens space to roam safely:
- Fence height: At least 6 feet
- Bury wire 12 inches underground to stop diggers
- Add a roof or netting to block hawks and climbing predators
Include natural elements like dust baths, perches, and shade.
Ensuring Safety and Comfort for Your Chickens
Predator-Proofing Tips
Your coop should be a fortress:
- Use hardware cloth instead of chicken wire (stronger)
- Bury fencing and add apron guards around the base
- Install secure locks on all doors
- Close coop at dusk with automated door if possible
Ventilation and Temperature Control
Fresh air is vital for healthy chickens:
- Add vents near the roof for air circulation
- Use mesh covers to block pests
- In colder areas, insulate walls and use safe heaters
- In hot climates, provide fans or open windows
DIY Chicken Coop Maintenance Tips
Keep your coop clean and your chickens healthy:
Weekly Tasks
- Remove droppings and replace bedding
- Collect eggs daily
- Check for signs of illness or injury
Monthly Tasks
- Deep-clean floors and nesting boxes
- Refill feed and water containers
- Check fencing and structure for damage
Seasonal Prep
- Winter: Insulate, use heated waterers, block drafts
- Spring: Deep clean, check for mites, refresh bedding
- Summer: Provide shade, cool water, and airflow
Bonus: Chicken Coop Design Ideas That Inspire
Want your coop to stand out? Choose a design that matches your vibe:
- A-Frame Coop: Simple, stylish, and space-efficient
- Walk-In Coop: Great for large flocks and easy maintenance
- Mobile Tractor Coop: Move it around your yard to fertilize as you go
- Rustic Charm Coop: Reclaimed wood, vintage details, and eco-friendly paint
Add a green roof, flower boxes, or paint it with bright, non-toxic colors.
Conclusion – Your Chickens Deserve the Best Home
Now you know exactly how to build a chicken coop from scratch, step by step. You’ve got the planning, materials, and construction strategies to make it happen. More importantly, you’re giving your flock a cozy, secure, and clean home—one that rewards you with fresh eggs, peace of mind, and maybe even a little bragging rights.
You’ve started a journey that’s bigger than just a backyard project. You’re building something that connects you to your food and your environment in the most rewarding way.
Ready to get started? Head to your local hardware store, grab your tools, and build your chicken coop like a pro.
Cost-Effective Building Supplies
Building a chicken coop doesn’t have to cost a lot. Here are some ways to save money:
- Repurposed Materials: Use old pallets, fencing, or other items you might throw away.
- Salvaged Building Supplies: Find materials at salvage yards or online to reuse for your coop.
- Locally Sourced Materials: Buying from local suppliers can save on shipping and support your community.
Weather-Resistant Options
Your chicken coop must handle different weather. Here are some options to consider:
Frequently Asked Questions (FAQ) About Building a Chicken Coop
How much does it cost to build a chicken coop?
Expect to spend between $200–$700, depending on your design and materials. Reclaimed materials can help you cut costs.
Can I use pallets to build a chicken coop?
Absolutely! Pallets are a budget-friendly option for framing, though you’ll still need to supplement with quality wood for durability.
How many nesting boxes do I need?
One nesting box for every 3 to 4 hens works best. Make sure they’re clean, dark, and cozy.
Do I need a permit for a chicken coop?
It depends on your location. Check with local zoning or your homeowner’s association to avoid fines or issues.
What’s the best flooring option?
Wood with linoleum covering is popular and easy to clean. Dirt floors are cheaper but harder to keep predator-proof and sanitary.
Want more backyard farming tips and DIY guides like this? Subscribe to our newsletter and never miss a beat in building a more sustainable and satisfying lifestyle.
For more cooking tips, stay connected with us. We also recommend the cookbook Skinnytaste Simple: Easy, Healthy Recipes with 7 Ingredients or Fewer
For more Recipes about Chicken