How to cook breaded chicken tender batter in the oven
Table of Contents
How to cook breaded chicken tender batter in the oven
Craving that crispy, golden crunch without the guilt of deep-frying? Oven-baked chicken tenders deliver the same satisfying texture with less oil—perfect for busy weeknights or family gatherings. Whether you’re meal prepping or serving a crowd, this method keeps things simple and delicious.
With just 55 minutes from prep to plate, this recipe is a game-changer. No need for a deep fryer—your oven does all the work. Even beginners can nail it, especially with a trusty cast iron skillet for extra crispiness.
Key Takeaways
- Oven baking offers a healthier alternative to frying with the same crispy finish.
- Total prep and cook time is just 55 minutes—ideal for quick meals.
- Family-friendly and crowd-pleasing, with over 41K shares for similar recipes.
- Cast iron skillets enhance crispiness for beginners.
- Versatile for meal prep or last-minute dinners.
Why Oven-Baked Chicken Tenders?
Skip the fryer but keep the crunch with oven baking. This method delivers the same satisfying crispiness as fried chicken—without the extra oil or mess. Perfect for busy cooks and health-conscious eaters alike.
Healthier Than Frying
Oven baking cuts calories and fat significantly. A typical serving has just 253kcal and 4g of fat—half the amount of deep-fried versions. Here’s why it’s smarter:
- Zero added oil: Unlike frying, which requires 3–4 cups of oil, baking uses none.
- Lower calorie count: 253kcal vs. 638kcal in traditional fried chicken.
- Panko breading mimics the texture of frying for fewer guilt trips.
Less Mess, Same Crunch
No more splattered stovetops or lingering grease smells. Baking requires minimal cleanup and still achieves that golden crisp. Pro tips:
- Use panko for extra crunch without deep-frying.
- An air fryer works too—just reduce cooking time by 25%.
Ingredients for the Perfect Chicken Tender Batter
The secret to golden, crispy perfection starts with quality ingredients. Whether you’re using tenderloins or breast strips, the right blend of spices and coatings ensures a satisfying crunch every time.
Tenderloins vs. Breast Strips
Tenderloins are naturally tender and cook evenly, while breast strips offer a meatier bite. For uniform thickness, slice breasts into 1-inch strips. Both work well, but tenderloins save prep time.
Key Seasonings for Flavor
Elevate your dish with a simple spice mix:
- Garlic powder (½ teaspoon) for depth
- Paprika (½ teaspoon) for smoky warmth
- Salt and pepper (¾ teaspoon total) to enhance taste
Breading Essentials
A triple-coat method locks in juiciness:
- Flour (1.5 cups) for adhesion
- Egg wash for binding
- Panko or breadcrumbs for crunch
Baking powder(1 tsp) in the flour mix boosts crispiness.
| Coating | Texture | Best For |
|---|---|---|
| Panko | Light, airy crunch | Oven baking |
| Breadcrumbs | Denser crisp | Frying |
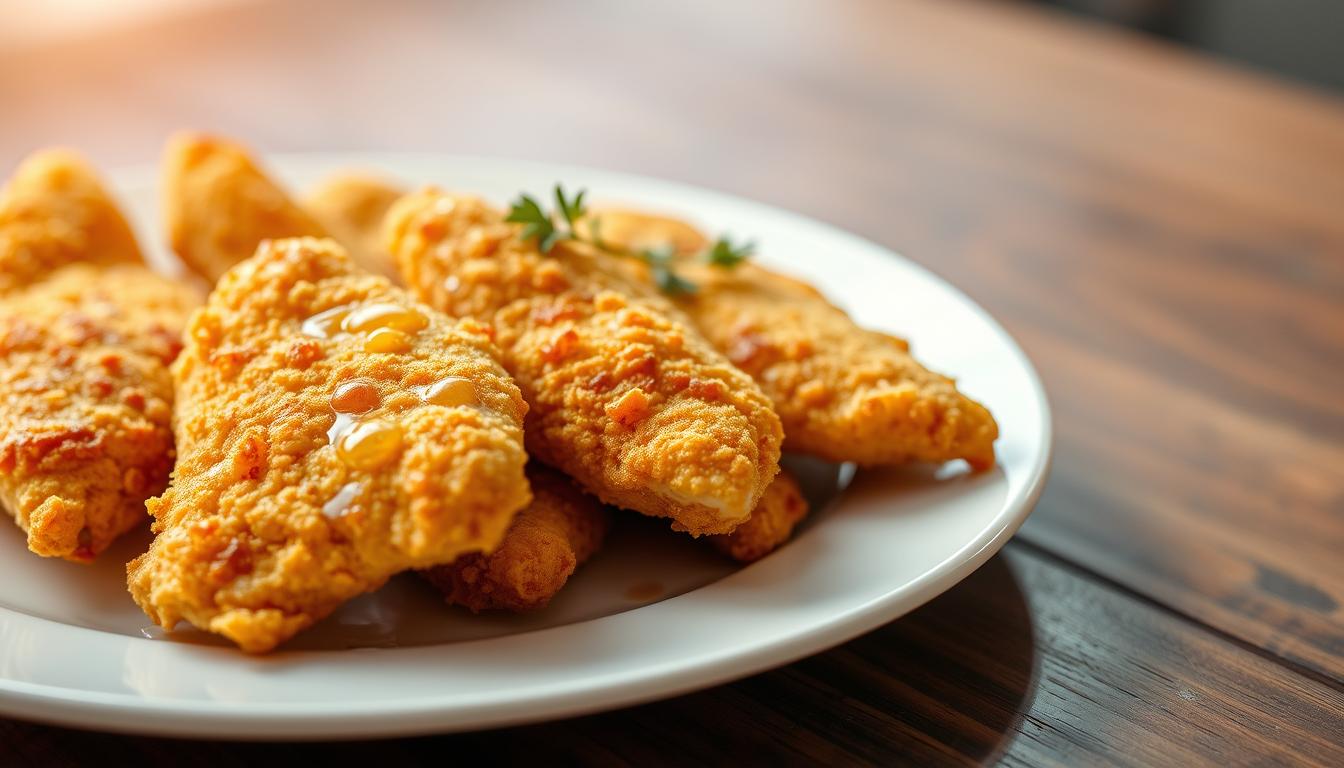
How to Make Crispy Chicken Tender Batter
Two simple bowls are all you need for restaurant-quality results. This method ensures even coating and maximum crunch without deep-frying. Follow these steps for foolproof breading every time.
Mixing Dry Ingredients
Start with a bowl of flour seasoned with salt, pepper, and spices. For extra crispiness, add 1 tsp baking powder. Whisk until the mixture is lump-free.
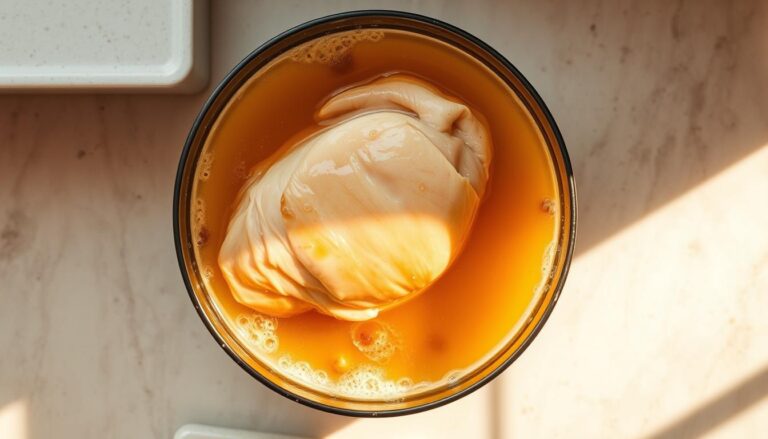
Prepping the Egg Wash
In a second bowl, beat 1 egg with 2 tbsp water. This thin consistency helps the coating adhere better. For a richer flavor, swap water with buttermilk.
Coating Techniques for Even Breading
Use the two-bowl system for efficiency:
- Dredge strips in flour, tapping to shake excess.
- Dip into egg wash, letting drips fall off.
- Coat again in flour or panko for extra crunch.
Let breaded strips rest 5 minutes before baking. This sets the coating and prevents clumping.
| Method | Pros | Best For |
|---|---|---|
| Double Flour | Extra crispy, sturdy crust | Oven baking |
| Panko Finish | Lighter, airier texture | Air frying |
Step-by-Step Oven Baking Instructions
Preheat, arrange, and bake—your roadmap to foolproof crispiness. Follow these steps to lock in flavor and texture without the fryer.

Preheating and Prepping the Baking Sheet
Preheat your oven to 400°F for optimal heat distribution. This higher temperature ensures a golden crust. Line a baking sheet with parchment paper or foil for easy cleanup. For extra crispness, place a wire rack on top.
Arranging Tenders for Even Cooking
Space breaded strips 1 inch apart to prevent steaming. Overcrowding lowers crispiness—batch cook if needed. Place thicker pieces near the oven’s center for consistent heat exposure.
Baking Time and Flipping Tips
Bake for 18–20 minutes, flipping halfway. Use tongs to avoid coating damage. For deeper color, spritz lightly with oil before baking. Rest 3 minutes post-bake for crunch retention.
- 400°F: Ideal balance of speed and browning.
- Wire rack: Promotes airflow for uniform texture.
- Mid-bake flip: Ensures even crispness on both sides.
Pro Tips for Extra-Crispy Results
Achieve maximum crispiness with these expert-approved oven techniques. Small adjustments—like using a wire rack or spritzing oil—make a big difference in texture and color.
Why a Wire Rack Matters
Elevate your strips on a wire rack instead of placing them directly on the pan. This allows hot air to circulate underneath, preventing sogginess. Key benefits:
- Even cooking: No more pale spots or uneven crunch.
- Faster crisping: Airflow mimics frying’s quick heat transfer.
Spritzing with Oil for Golden Brown Color
A light spray of avocado oil before baking enhances browning. Unlike butter, it won’t burn at high heat. For best results:
- Hold the bottle 6 inches away to avoid pooling.
- Focus on the top side—no need to flip mid-bake.
Resting Breading Before Baking
Let coated strips sit for 10 minutes before baking. This helps the breading adhere, reducing flaking. Pro tip: For extra crunch, set your oven to 375°F—the same temp used in the second fry step of double-fried recipes.
Serving Suggestions
The right sides and sauces can elevate your dish from good to unforgettable. Whether you’re hosting a game night or prepping a weeknight dinner, these pairings balance crunch, flavor, and nutrition.

Dipping Sauces That Shine
Skip store-bought sauces high in sugar. Homemade options like honey mustard or a Raising Cane’s copycat add zest without overpowering the dish. Try these easy recipes:
- Honey Mustard: Whisk ¼ cup Greek yogurt, 1 tbsp honey, and 1 tsp Dijon.
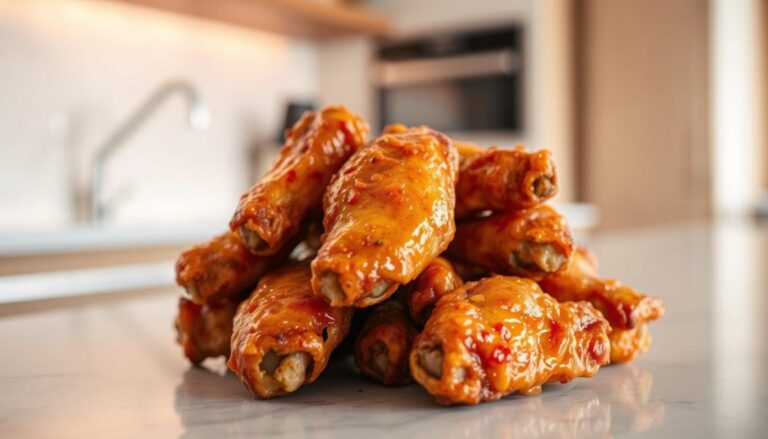
- Spicy BBQ: Mix ½ cup ketchup, 1 tbsp hot sauce, and a dash of smoked paprika.
- Cane’s Sauce: Combine mayo, ketchup, garlic powder, and black pepper.
| Sauce | Flavor Profile | Best With |
|---|---|---|
| Honey Mustard | Tangy, sweet | Salads |
| Spicy BBQ | Smoky, bold | Sweet potato fries |
| Cane’s Sauce | Creamy, peppery | Classic fries |
Perfect Side Pairings
Pair with fiber-rich side dishes to offset the 29g carbs per serving. Each serving packs 24g protein, making it a balanced meal. Crowd favorites include:
- Sweet potato fries: 5g fiber per cup for contrast.
- Kale salad: Toss with lemon vinaigrette for brightness.
- Cornbread: A buttery, crumbly complement (per first source).
“The crunch of the strips pairs perfectly with creamy coleslaw or crisp pickles—texture is key.”
Storing and Reheating Leftovers
Keep your leftovers tasting fresh with smart storage tricks. Proper methods prevent sogginess and lock in flavor, whether you’re saving extras for lunch or meal prepping in batches.
Keeping Them Crispy in the Fridge
Line an airtight container with paper towels to absorb moisture. Store strips in a single layer—stacking causes steam. They’ll stay crunchy for 3–4 days this way.
Reheating in Air Fryer vs. Oven
An air fryer at 350°F for 6–8 minutes restores near-original crispiness. The oven works too (375°F for 10 minutes), but the air fryer’s faster airflow yields better results. Avoid microwaving—it turns coatings rubbery.
| Method | Time | Crispiness |
|---|---|---|
| Air Fryer | 6–8 mins | Best |
| Oven | 10 mins | Good |
| Microwave | 1–2 mins | Soggy |
Pro tip: Freeze raw breaded strips on a tray before bagging. Bake straight from frozen, adding 5 extra minutes.
Conclusion
Looking for a simple way to enjoy crispy favorites guilt-free? Oven-baked strips deliver the crunch of fried chicken with half the calories. Swap spices like smoked paprika or cayenne to customize flavors.
This method scales effortlessly—double the batch for family dinners or meal prep. Prefer quicker results? Try the air fryer variation in your favorite recipes.
Whether using breast strips or tenderloins, this technique ensures consistent crispiness. Time to reimagine comfort food—one bake at a time.
FAQ
Can I use chicken breasts instead of tenderloins?
What oil works best for spritzing before baking?
How do I prevent soggy breading?
Can I make these gluten-free?
What temperature ensures juicy insides?
How long do leftovers stay fresh?
Why add baking powder to the flour mix?
Best dipping sauce pairings?
For more cooking tips, stay connected with us. We also recommend the cookbook Skinnytaste Simple: Easy, Healthy Recipes with 7 Ingredients or Fewer
For more Recipes about Chicken