How to make crispy fried chicken strips recipe at home
Table of Contents
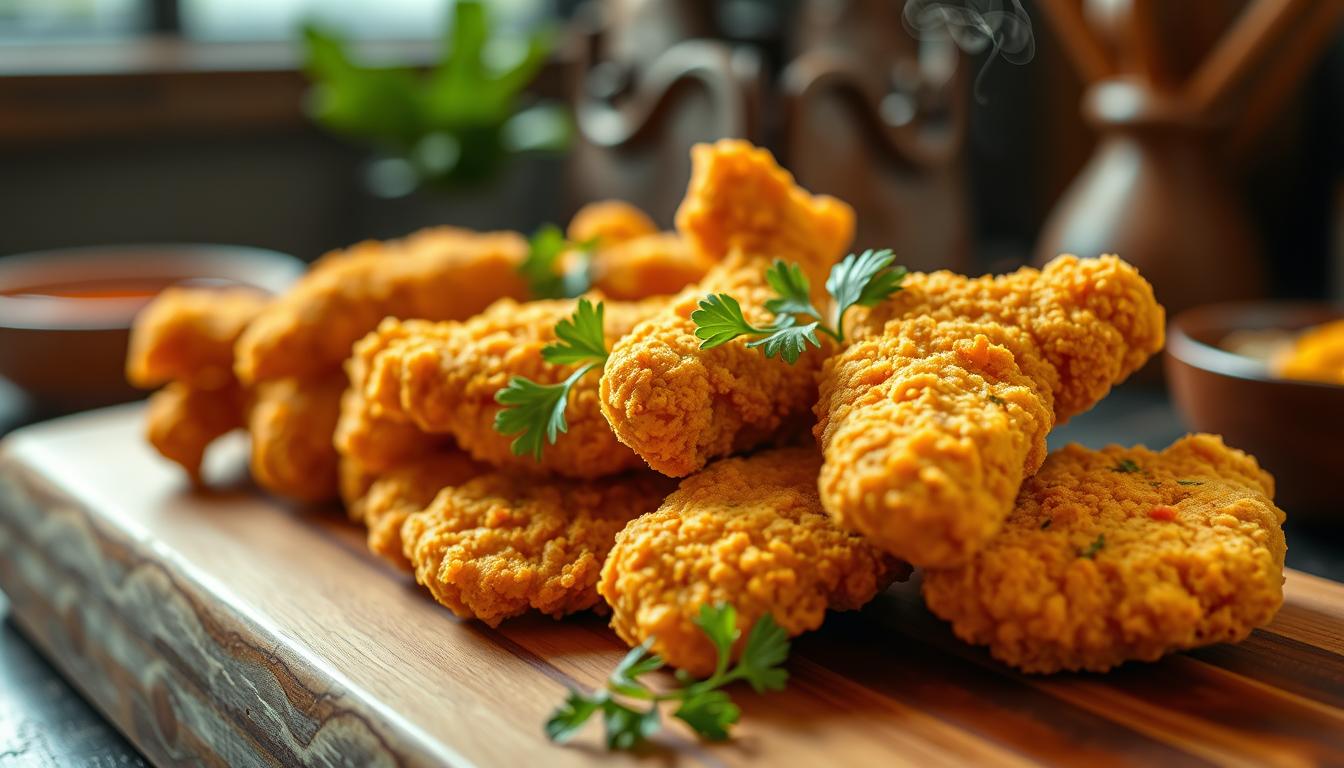
How to make crispy fried chicken strips recipe at home
There’s something special about biting into golden, crispy strips that bring back memories of family dinners and weekend treats. Whether you’re cooking for kids, hosting friends, or just craving a comforting meal, homemade versions always hit the spot.
Perfecting this dish isn’t just about taste—it’s about texture. A good marinade keeps the meat tender, while the right frying technique delivers that satisfying crunch. Best of all, you can customize it with your favorite dips or toppings.
No need for takeout when you can make restaurant-quality food in your own kitchen. With simple ingredients and clear steps, even beginners can master this crowd-pleaser.
Key Takeaways
- Homemade versions offer better flavor and freshness than store-bought.
- Marinating ensures juiciness, while proper frying creates the ideal crispiness.
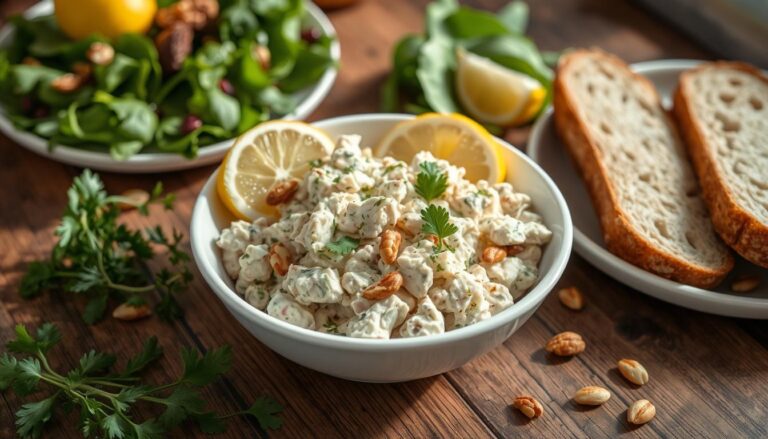
- Versatile for serving—enjoy plain, with dips, or as a salad topping.
- Easy to prepare with step-by-step guidance for all skill levels.
- Cost-effective compared to restaurant or frozen alternatives.
Why This Fried Chicken Strips Recipe Works
Getting that ideal crunch and juicy interior isn’t magic—it’s chemistry. This method combines proven techniques for foolproof results every time.
The Science Behind Crispy Coating
A mix of all-purpose flour and starches (like cornstarch) creates a lightweight yet sturdy crust. Starches absorb less oil, preventing greasiness while boosting crispness.
Adding baking powder introduces tiny air pockets during frying. This lifts the breading for an extra-crunchy texture. A dash of garlic powder and pepper deepens flavor without overpowering.
Buttermilk’s Role in Tenderizing
Soaking chicken tenders in buttermilk breaks down proteins gently. Its acidity ensures moist, tender meat after cooking. For best results, marinate 4–24 hours.
Breasts work, but tenderloins stay succulent naturally. Pair the marinade with a double-dredge in flour for maximum adhesion.
Heat control is critical. Fry at 350°F (177°C) for a golden crust that seals in juices. Too low, and food absorbs excess oil; too high, and the coating burns before cooking through.
Essential Ingredients for Perfect fried chicken strips recipe
Great flavor and texture begin with smart ingredient choices. Each component plays a role in creating crispy, juicy results. From the cut of meat to the type of oil, every detail matters.
Chicken Selection: Tenderloins vs. Breasts
Tenderloins are naturally tender and cook evenly, making them ideal for quick frying. Breasts work too but need thin slicing to avoid dryness. For 1.3 lbs of meat, tenderloins save prep time.
Key Spices for Flavor Depth
A blend of smoked paprika, cayenne, and garlic powder adds warmth and complexity. Use a 2:1:1 ratio for balanced heat. Don’t skip pepper—it enhances other flavors.
Oil Choices for Frying
High smoke points are critical. Vegetable oil (400°F) is affordable, but avocado oil (520°F) handles higher heat. Olive oil suits air frying but burns in deep-frying. Always use a thermometer.
Pro tip: Kosher salt distributes better than table salt for even seasoning.
Must-Have Equipment
The right tools make all the difference between soggy and crispy results. Whether you’re a beginner or a pro, investing in a few key items ensures consistent success. Here’s what you need to nail the perfect texture every time.
Dutch Oven vs. Deep Fryer
Cast iron Dutch ovens excel at heat retention, distributing warmth evenly for uniform cooking. They’re versatile—use them for frying, braising, or baking. Electric deep fryers simplify temperature control but lack the stovetop flexibility.
| Feature | Dutch Oven | Deep Fryer |
|---|---|---|
| Heat Retention | Excellent (holds 325–375°F steadily) | Good (requires preheating) |
| Versatility | Multi-purpose (stovetop/oven-safe) | Single-use (frying only) |
| Cleanup | Hand-wash recommended | Removable parts for easy cleaning |
Thermometer Importance
Never guess oil temperature. A clip-on infrared thermometer ensures precision, keeping your oil in the ideal 325–375°F range. Too cool, and food absorbs grease; too hot, and the coating burns.
Wire Racks for Draining
Skip paper towels—they trap steam, making coatings limp. A wire rack over a baking tray lets air circulate, preserving crunch. Pair it with heavy-duty tongs or a spider skimmer for safe handling.
Pro tip: Use foil-lined trays for breading stations to minimize mess. Organize your workflow: marinade → flour → egg → crumbs → pot of oil.
Step-by-Step: Marinating the Chicken
Marinating is the secret to juicy, flavorful results every time. A buttermilk brine not only tenderizes but also infuses the meat with herbs and spices. Follow these steps to lock in moisture and taste.

Preparing the Buttermilk Brine
Combine 1 cup buttermilk, 1.5 tsp salt, and ¼ tsp cayenne in a large bowl. Whisk until the mixture is smooth. For deeper flavor, add smoked paprika or garlic powder.
Submerge chicken tenders fully in the brine. Massage the liquid into the meat using a sealable bag or container. This ensures even coating and faster absorption.
Timing for Optimal Tenderness
Refrigerate for at least 30 minutes, but 4–24 hours is ideal. Buttermilk’s acidity breaks down proteins gently, creating fork-tender bites.
Warning: Avoid exceeding 24 hours. Over-marinating can turn meat mushy. For convenience, prep the night before frying.
Pat dry before breading to help the coating stick. This step guarantees maximum crispiness without sacrificing juiciness.
Creating the Crispiest Breading
The secret to an irresistible crunch lies in mastering the breading process. A balanced flour blend and proper technique ensure a coating that stays crisp, not greasy. Here’s how to nail it every time.
Flour Mixture Secrets
Combine ¾ cup all-purpose flour with ¼ cup cornstarch or potato starch. Starches reduce oil absorption while adding lightness. For extra lift, mix in 1 tsp baking powder.
Season the mixture generously with smoked paprika, garlic powder, and a pinch of pepper. Whisk in a bowl until evenly distributed. Pro tip: A splash of cold water creates craggly edges for maximum crispiness.
| Starch Type | Benefit | Best For |
|---|---|---|
| Cornstarch | Ultra-crisp texture | Quick frying |
| Potato starch | Better structure | Double-frying |
Double-Dredge Technique
Dip marinated pieces into the flour mixture, pressing firmly to create clumps. Shake off excess, then repeat for a thicker crust. This double layer locks in moisture while crisping evenly.
Caution: Avoid overcrowding the bowl during breading. Work in batches to maintain coating integrity. For extra crunch, fry once at 325°F, cool, then refry at 375°F.
“The clumpier the flour, the crispier the result. Don’t fear uneven coatings—they add texture.”
Cooking Methods Compared
Your choice of cooking technique shapes the final crunch and juiciness. Whether you crave classic crispiness or a lighter bite, each method delivers distinct results. Below, we break down the pros and cons of deep-frying, air frying, and baking.

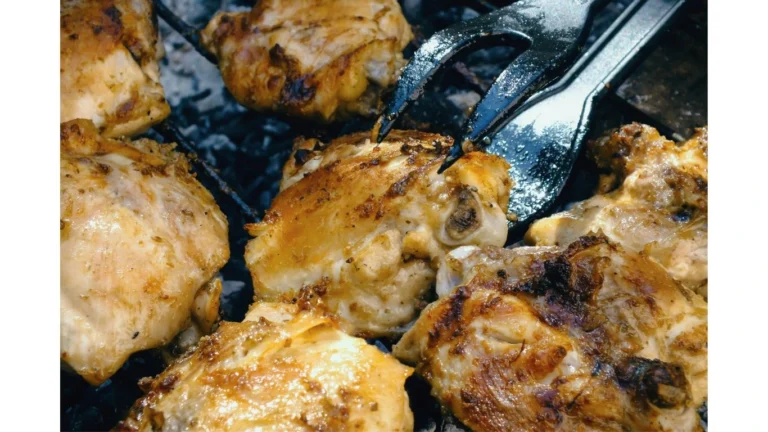
Deep-Frying for Ultimate Crunch
For the crispiest texture, deep-frying in oil at 325°F (163°C) is unbeatable. Fry for 3–4 minutes, then rest. For extra crunch, refry at 375°F (191°C) for 1–2 minutes.
Use a Dutch oven or heavy-bottomed pot to maintain steady heat. A wire rack prevents sogginess by letting excess oil drip off.
Air Fryer: Healthier Crisp
An air fryer offers a guilt-free alternative with less oil. Cook at 400°F (204°C) for 10 minutes, flipping halfway. Spray lightly with oil for golden color.
Results are slightly less crunchy than deep-fried but still satisfying. Ideal for quick weeknight meals.
Oven-Baked Alternative
Baking at 425°F (218°C) on a wire rack ensures even browning. Brush with melted butter or oil spray for 15–18 minutes.
Texture is lighter but still crisp. Perfect for larger batches without the mess of a fryer.
| Method | Texture | Cook Time |
|---|---|---|
| Deep-Fried | Crunchiest | 5–6 min |
| Air Fryer | Moderate crisp | 10 min |
| Oven-Baked | Light crisp | 15–18 min |
“Double-frying is the game-changer for shatteringly crisp coatings.”
Serving and Pairing Suggestions
The right accompaniments can turn a simple dish into a memorable meal. Whether you’re hosting friends or enjoying a family dinner, thoughtful pairings enhance flavors and textures.
Dips That Steal the Show
Homemade sauces elevate every bite. Try tangy honey mustard with a hint of cracked pepper, or spicy sriracha mayo for heat lovers. Buttermilk ranch, with its creamy herbs, balances crispiness perfectly.
For tested recipes, whisk Greek yogurt into dips for thickness. Add garlic or dill for extra zest. Serve in small bowls for easy sharing.
Sides That Shine
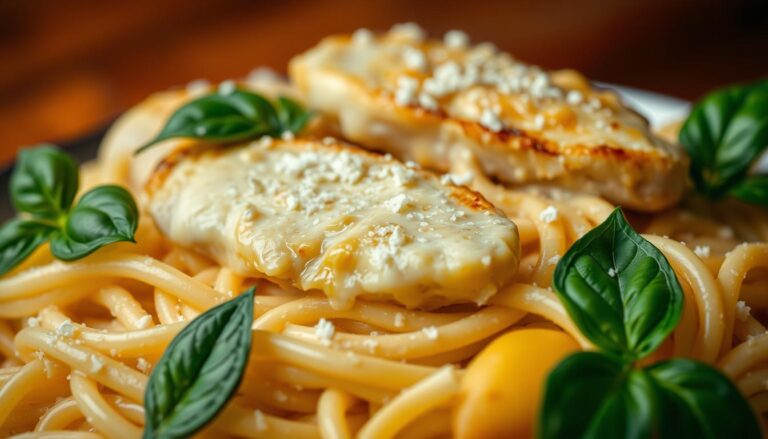
Ideal side dishes include sweet potato fries or crunchy coleslaw. Garlic mashed potatoes or mac & cheese add comfort. For lighter options, try a kale salad with lemon dressing.
- Adult gatherings: Pair with IPA beer or Chardonnay.
- Kids’ meals: Offer carrot sticks with honey dip.
- Plating: Stack on sliders or top a grain bowl.
“A great sauce doesn’t mask flavors—it highlights them.”
Conclusion
Perfecting this dish comes down to a few simple techniques. Control oil temperature, marinate for tenderness, and double-dredge for crunch. Experiment with spices or cooking methods to make it your own.
Prep ahead by freezing breaded pieces—just fry when ready. Share your twists online to inspire others!
Pro tip: Keep them crispy by serving on a wire rack. Now, you’ve got the tools to ace this classic in your kitchen.
FAQ
What’s the best cut of meat for crispy strips?
Can I skip buttermilk in the marinade?
How do I prevent the breading from falling off?
What oil temperature is ideal for frying?
Can I make these in an air fryer?
What sides pair well with this dish?
How long should I marinate the meat?
Why use a wire rack after frying?
For more cooking tips, stay connected with us. We also recommend the cookbook Skinnytaste Simple: Easy, Healthy Recipes with 7 Ingredients or Fewer
For more Recipes about Chicken