Boiling Chicken: How Long Do You Boil Chicken for?
Table of Contents
Boiling Chicken: How Long Do You Boil Chicken for?
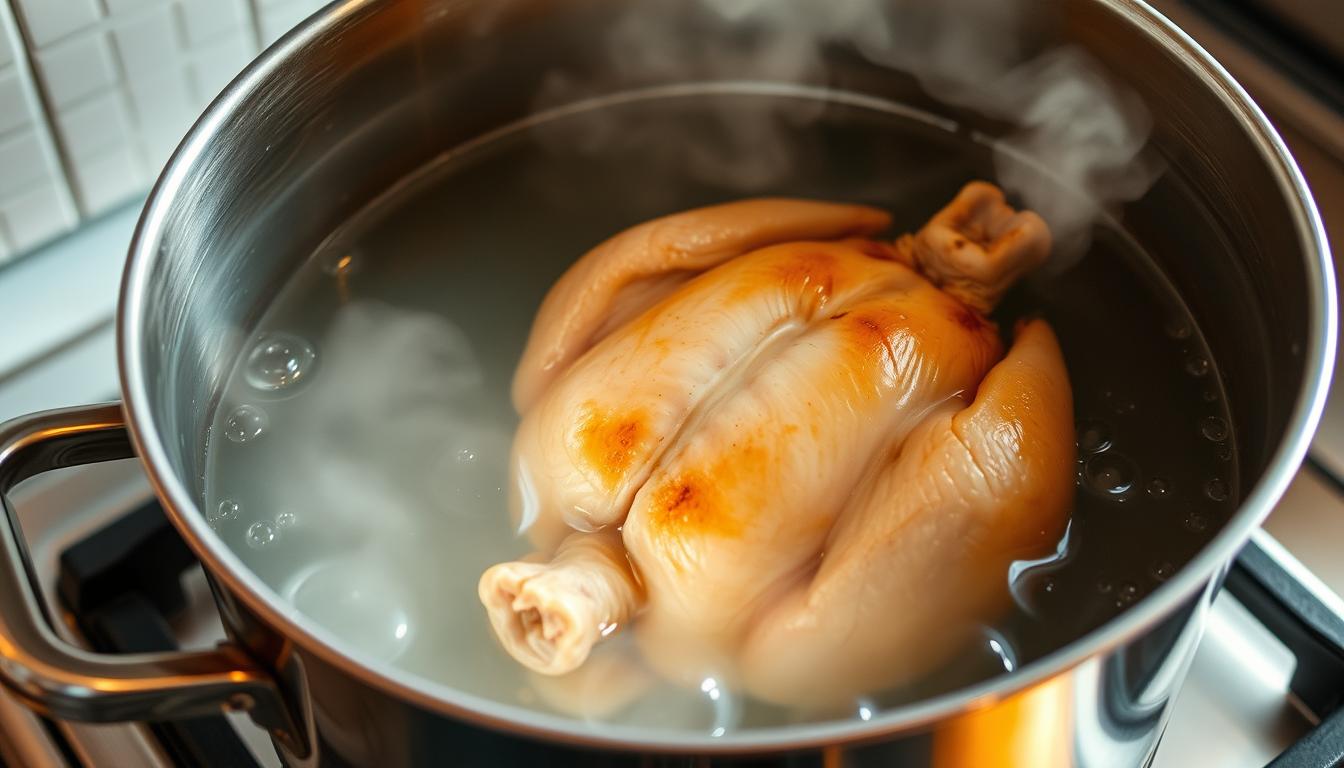
Boiling poultry is a quick and efficient way to prepare tender, juicy meat for soups, salads, and meal prep. Unlike poaching, which uses gentler heat, this method fully submerges the protein in hot water, ensuring even cooking.
The USDA recommends reaching an internal temperature of 165°F for safe consumption. Cooking durations vary based on cut—boneless breasts take less time than a whole bird. Proper timing prevents dryness while locking in moisture.
Beyond convenience, this technique infuses flavor into dishes and creates a rich broth. Whether for shredded tacos or hearty stews, mastering the process ensures consistent results every time.
Key Takeaways
- Boiling cooks poultry evenly and retains moisture.
- Always verify the internal temperature reaches 165°F.
- Adjust cooking durations for different cuts.
- This method produces versatile meat and flavorful broth.
- Ideal for meal prep and multiple recipes.
Why Boiling Chicken Is a Game-Changer
Boiled chicken offers unmatched convenience for busy cooks. It delivers tender, juicy protein while creating a flavorful broth—all in one pot. Whether you’re meal prepping or whipping up weeknight dinners, this method saves time and effort.
Benefits of This Cooking Method
Unlike grilling or baking, boiling preserves 63% of the meat’s weight, keeping it moist. A 12-ounce raw breast shrinks to just 8 ounces cooked, packing more servings per batch. Each portion contains roughly 187 calories, making it a lean choice.
The process also yields two cups of shredded meat per breast, perfect for salads or soups. Plus, the leftover broth enhances other recipes like risottos or sauces.
Versatility in Meals
Boiled chicken adapts to countless dishes:
- Salads: 47% of home cooks use it for quick lunches.
- Soups: 32% repurpose the broth for hearty meals.
- Weeknight dinners: 21% toss it with pasta or tacos.
Store cooked portions in the fridge for 4–5 days, or freeze for later. With minimal tools—just a pot and water—it’s a budget-friendly kitchen hack.
How Long Do You Boil Chicken?
Different cuts demand specific simmer times for optimal texture. Always verify doneness with a meat thermometer, ensuring the thickest part reaches 165°F. Here’s a breakdown by cut:
Boneless, Skinless Chicken Breasts
These cook fastest due to their uniform thickness. For tender results:
- Thin cutlets: 8 minutes simmer time.
- Large breasts: Up to 15 minutes maximum.
Pro tip: Overcooking dries out lean meat—remove promptly at 165°F.
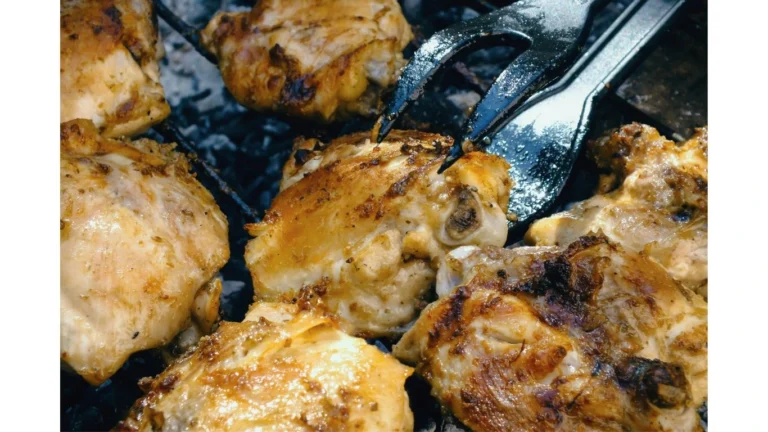
Bone-In Chicken Pieces
Bones slow heat penetration, adding 50% more cooking time. Aim for:
- Breasts with bones: 20 minutes.
- Thighs or drumsticks: 25–30 minutes.
Check near the bone, the thickest part, to avoid undercooking.
Whole Chicken
A 3–4 lb bird needs 60–90 minutes. Calculate:
- 20–25 minutes per pound.
- Always test the thigh joint (165°F).
Rest the meat 10 minutes before carving to retain juices.
Essential Ingredients and Tools
Quality ingredients and proper tools make all the difference when preparing tender poultry. From selecting the right cut to infusing flavor, each choice impacts the final dish.
Choosing the Right Chicken
Organic poultry often has richer flavor and fewer additives compared to conventional options. For best results:
- Boneless breasts: Lean and quick-cooking.
- Bone-in thighs: More fat for juicier meat.
Liquid Options: Water vs. Broth
While water works, broth adds 40% more depth. Enhance plain water with 1 tbsp kosher salt per quart for better seasoning.
Seasonings and Aromatics
Boost flavor with:
- Ginger and scallions: Classic pairing for brightness.
- Bay leaves and peppercorns: Earthy undertones.
- Citrus slices or vegetable scraps: Natural sweetness.
Avoid delicate herbs like basil—they turn bitter when boiled.
Essential tools include a heavy pot, spider skimmer, and instant-read thermometer for precision.
Step-by-Step Guide to Boiling Chicken
Proper technique transforms simple ingredients into a versatile protein powerhouse. Follow these steps to achieve tender, flavorful meat with minimal effort.
Preparing the Chicken
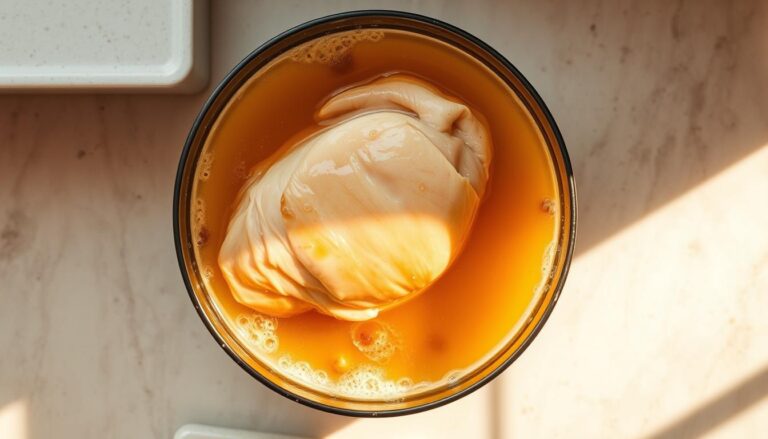
Pat the poultry dry with paper towels to help seasonings stick better. Arrange pieces in a single layer at the bottom of your pot for even cooking. The cold-start technique—adding meat to cold liquid—prevents toughness.

Bringing the Liquid to a Boil
Cover the meat with water or broth, ensuring 1-inch coverage. Set the heat to medium-high to bring boil. Skim off foam within the first 3 minutes for clearer broth.
Simmering to Perfection
Reduce heat to medium once boiling begins. Partially cover the pot to control evaporation. Simmer until the internal temperature hits 165°F—about 12–15 minutes for boneless cuts.
Pro tip: A spider skimmer removes impurities without losing flavorful liquid.
Checking for Doneness
Accurate temperature checks separate perfectly cooked meat from underdone or dry results. Whether using tools or visual cues, verifying doneness ensures safety and optimal texture.
Using a Meat Thermometer
Insert the thermometer into the thickest part, avoiding bones. The USDA confirms poultry is safe at 165°F. For bone-in cuts, test near joints where heat penetrates slowest.
Remove the meat promptly at 160°F—residual heat will raise it to 165°F during resting. This prevents overcooking while killing bacteria.
Visual and Texture Cues
Clear juices (no pink) signal doneness. Shred resistance should mimic cooked fish—flaky but firm. Undercooked poultry clings to fibers when pulled.
Rest 10 minutes post-cooking. Carryover heat redistributes juices, preventing dryness.
- Thermometer placement: Center of the thickest part.
- Juice test: Rosy liquid means more cooking time.
- Texture: Shouldn’t feel rubbery or mushy.
Seasoning and Flavor Enhancements
Elevate your poultry dishes with smart seasoning techniques that enhance natural flavors. Whether you prefer simplicity or bold profiles, the right balance of salt, herbs, and aromatics makes all the difference.

Mastering Salt and Pepper
A 1:1 salt-to-water ratio acts like a quick brine, seasoning meat from the inside out. For every quart of liquid, add 1 tbsp kosher salt. Freshly cracked pepper adds warmth without overpowering.
Pro tip: Underseasoned broth? Reduce it by half to concentrate flavors.
Herbs and Spices for Depth
Layer flavors with dried or fresh additions:
- Asian-inspired: Ginger, star anise, and soy sauce.
- Mediterranean: Rosemary, fennel seeds, and lemon zest.
- Freeze herb stems (thyme, parsley) for future batches.
Vegetable Scraps for Complexity
Onion skins, carrot tops, and celery leaves add subtle sweetness. Citrus slices cut through richness with brightness. Store scraps in the freezer for instant flavor boosts.
Storing and Freezing Boiled Chicken
Proper storage keeps boiled poultry fresh and ready for future meals. Whether refrigerating for short-term use or freezing for later, these methods lock in flavor and texture.
Refrigeration Tips
Store cooked chicken in the fridge for up to 5 days. Use airtight containers or resealable bags to prevent moisture loss and odor absorption. For quicker access, portion shredded meat into single-serving sizes.
- Airtight containers: Glass or BPA-free plastic works best.
- Broth preservation: Freeze leftover liquid in ice cube trays for sauces.
- Layering: Separate pieces with parchment paper to avoid clumping.
Freezing for Later Use
Extend shelf life by freezeing for up to 3 months. Shred meat before freezing to streamline meal prep. Label bags with dates to track freshness.
Pro tip: Flash-freeze portions on a tray before bagging to prevent freezer burn.
- Thawing: Transfer to the fridge 24 hours before use.
- Reheating: Simmer frozen pieces in broth to restore moisture.
- Portion control: 1-cup portions fit most recipes.
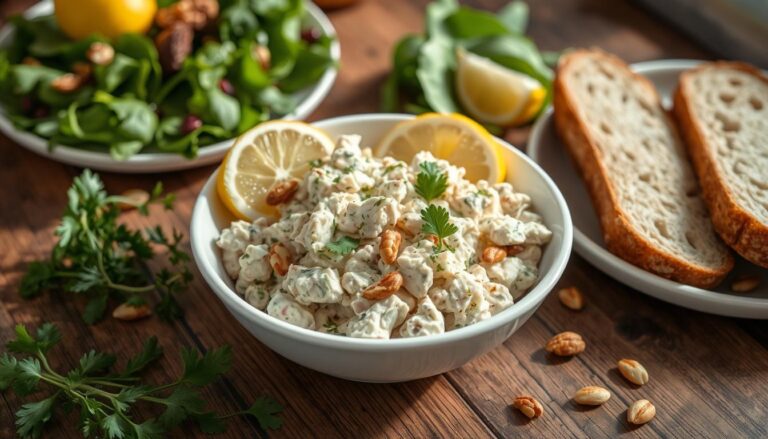
Creative Ways to Use Boiled Chicken
Turn leftover poultry into restaurant-worthy dishes with these creative twists. Whether you’re meal prepping or needing quick meals, boiled chicken adapts effortlessly to salads, soups, and beyond.
Revamp Your Salads
Shredded chicken adds lean protein to vibrant salads. Try these variations:
- Waldorf: Toss with apples, walnuts, and yogurt dressing.
- Curry: Mix with grapes, almonds, and curry powder.
- Buffalo-style: Drizzle with hot sauce and blue cheese crumbles.
Hearty Soups and Stews
Use the broth and meat for soul-warming soups. Compare these global flavors:
| Type | Key Ingredients | Prep Time |
|---|---|---|
| Pho | Star anise, rice noodles, basil | 25 mins |
| Tortilla | Avocado, lime, crispy tortilla strips | 20 mins |
| Avgolemono | Lemon, eggs, orzo | 15 mins |
15-Minute Weeknight Solutions
For busy evenings, try these fast recipes:
- Quesadillas: Layer with cheese and salsa.
- Fried rice: Sauté with veggies and soy sauce.
- Open-faced toast: Top with avocado and chili flakes.
Pro tip: Freeze portions in 2-cup batches for baked ziti or enchiladas.
Common Mistakes to Avoid
Even simple cooking techniques can go wrong without proper attention. Avoiding these pitfalls ensures tender, flavorful results every time.
Overcooking the Chicken
Boiling instead of simmering leads to rubbery texture. Make sure to reduce heat once bubbles form. Poultry cooked past 165°F loses moisture rapidly.
- Temperature overshoot dries out meat fibers.
- Carryover cooking adds 5°F during resting.
- Frequent lid removal extends cooking time unnecessarily.
Underseasoning the Liquid
Bland broth means bland meat. Use at least 1 tbsp salt per quart of water. Test seasoning by tasting the liquid before adding poultry.
Pro tip: Add aromatics like garlic or ginger for layered flavor.
Skipping the Resting Time
Letting meat sit for 10 minutes allows juices to redistribute. Cutting too soon causes dryness. This method works for all cuts, from breasts to whole birds.
- Resting completes the cooking process evenly.
- Broth absorption improves during this time.
- Shredding becomes easier after resting.
Conclusion
Mastering this cooking technique unlocks endless meal possibilities. Whether prepping for salads or soups, precise time and temperature ensure juicy, flavorful results.
Don’t discard the broth—it’s a flavor powerhouse for risottos or sauces. Experiment with herbs and spices to customize each batch.
Always prioritize food safety. Verify doneness with a thermometer, aiming for 165°F. Rest the meat to lock in moisture.
Ready to try this method? Whip up a recipe like chicken tortilla soup or citrus-herb salad. This way, you’ll enjoy tender protein and rich broth in every bite.
FAQ
What’s the best way to boil boneless, skinless chicken breasts?
Can I use bone-in chicken pieces for boiling?
How do I prevent boiled chicken from tasting bland?
What’s the ideal internal temperature for cooked chicken?
How long can I store boiled chicken in the fridge?
Can I reuse the cooking liquid after boiling chicken?
What are quick meals I can make with boiled chicken?
Why is my boiled chicken tough or rubbery?
For more cooking tips, stay connected with us. We also recommend the cookbook Skinnytaste Simple: Easy, Healthy Recipes with 7 Ingredients or Fewer
For more Recipes about Chicken