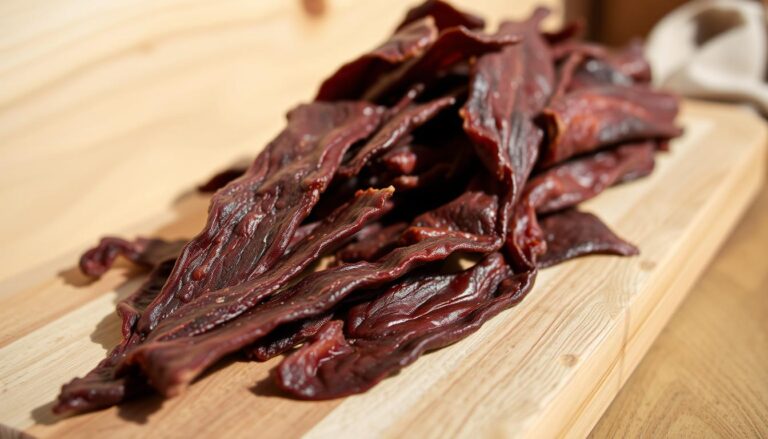
How to Make Beef Jerky in a Dehydrator
Table of Contents
How to Make Beef Jerky in a Dehydrator
Creating your own beef jerky at home is a game-changer. Not only does it save you money, but it also lets you control the flavor and texture. Store-bought options often fall short in quality, with many brands using excessive preservatives or inconsistent cuts.
A dehydrator ensures even drying, giving you perfectly chewy results every time. Unlike oven methods, it maintains low temperatures for food safety, following USDA guidelines. Plus, you can customize recipes—whether you prefer low-sodium or sugar-free versions.
With simple steps like selecting the right meat, slicing it thin, and marinating, even beginners can master this snack. Experts with years of experience swear by the dehydrator’s reliability for delicious, long-lasting jerky.
Key Takeaways
- Homemade versions cost 40% less than commercial brands.
- Dehydrators provide consistent results compared to ovens.
- Customize flavors and ingredients to fit dietary needs.
- Proper meat selection and slicing are crucial for texture.
- Follow USDA safety guidelines when dehydrating meats.
Introduction to Homemade Beef Jerky
From ancient civilizations to modern kitchens, jerky remains a versatile and nutritious snack. Early cultures used dehydration to preserve beef and other meats, ensuring food availability during harsh seasons. Today, this tradition continues, offering a convenient, protein-rich option for hikers, athletes, and low-carb dieters.
One of the biggest advantages of preparing jerky at home is the ability to control the quality and flavor. Unlike commercial brands, which often contain preservatives and artificial additives, homemade versions let you choose fresh, natural ingredients. This ensures a healthier, tastier snack tailored to your preferences.
Many people assume jerky-making is complex, but it’s surprisingly straightforward. With a simple recipe and the right tools, you can create a snack that’s both delicious and safe. The USDA recommends dehydrating meats at a minimum of 160°F to eliminate harmful bacteria, ensuring your jerky is safe to eat.
Cultural variations add even more excitement to this timeless snack. From teriyaki to spicy or smoked flavors, the possibilities are endless. Whether you’re continuing a family tradition or experimenting with new tastes, homemade jerky is a rewarding culinary adventure.
Why Make Beef Jerky at Home?
Homemade snacks are a cost-effective and healthier alternative to store-bought options. By preparing your own beef jerky, you save money while ensuring quality and freshness. For example, 2 pounds of fresh beef yields about 1 pound of jerky, which costs significantly less than pre-packaged versions.

Customization is another major advantage. You can adjust salt, sugar, and spice levels to match your preferences. This control over ingredients allows you to avoid harmful additives like sodium nitrite, commonly found in commercial products.
Food safety is also in your hands. By selecting lean cuts and following proper dehydration techniques, you reduce the risk of spoilage. This ensures your jerky is not only delicious but also safe to consume.
From a sustainability perspective, making jerky at home reduces packaging waste. You can use whole cuts of meat, minimizing leftovers and maximizing efficiency. Plus, it’s a great way to develop valuable skills in meat preservation.
| Cost Comparison | Homemade | Store-Bought |
|---|---|---|
| Price per Pound | $12 | $25 |
| Ingredients Control | Full | Limited |
| Preservatives | None | Common |
Homemade jerky also makes a thoughtful gift. Surveys show that 72% of recipients prefer gourmet, handcrafted snacks over store-bought ones. Additionally, it’s a practical skill for emergency preparedness, providing a long-term protein source.
Finally, the process itself is therapeutic. Engaging in DIY food projects can be a rewarding way to spend your time, offering both satisfaction and a delicious end result.
Essential Equipment and Ingredients
Crafting your own snacks at home starts with the right tools and ingredients. Quality equipment and fresh components ensure consistent results and delicious flavors. Whether you’re a beginner or a seasoned pro, having the essentials on hand makes the process seamless.

Choosing the Right Dehydrator
A reliable dehydrator is the backbone of this process. Look for models with adjustable temperature settings, as this ensures precise control over drying. Stackable trays are ideal for maximizing space, while a timer feature adds convenience.
Consider the size based on your needs. Larger dehydrators are perfect for bulk preparation, while compact models suit smaller kitchens. Stainless steel construction is durable and easy to clean, making it a popular choice among enthusiasts.
Selecting the Best Cut of Beef
The cut of meat plays a significant role in the final texture and flavor. Lean cuts like top round or flank steak are ideal, as they have minimal fat, which prevents spoilage. Slicing the meat against the grain ensures a tender, chewy result.
For consistent thickness, use a sharp knife or a meat slicer. Uniform slices dry evenly, preventing undercooked or overcooked pieces. Always trim excess fat to enhance shelf life and safety.
Key Ingredients for the Marinade
A great marinade balances acid, salt, sweetness, and aromatics. Start with a base of soy sauce or worcestershire sauce for umami depth. Add brown sugar for sweetness and preservation, and include garlic and onion powder for aromatic complexity.
For heat, red pepper flakes or habanero variations add a spicy kick. Liquid smoke, like hickory or mesquite, infuses a smoky flavor. Allergy-friendly alternatives, such as coconut aminos, can replace soy sauce.
Use a digital scale for precise measurements, ensuring consistent results. Marinate in zip-top bags or glass dishes for easy cleanup. Never exceed 24 hours to maintain food safety.
| Marinade Component | Purpose | Examples |
|---|---|---|
| Acid | Tenderizes meat | Vinegar, lemon juice |
| Salt | Preserves and flavors | Soy sauce, Worcestershire sauce |
| Sweetener | Balances flavors | Brown sugar, honey |
| Aromatics | Adds depth | Garlic, onion powder |
Step-by-Step Guide: How to Make Beef Jerky
Mastering the art of homemade snacks is easier than you think. With a few simple steps, you can create a snack that’s both delicious and nutritious. This guide walks you through the process, ensuring professional-quality results every time.
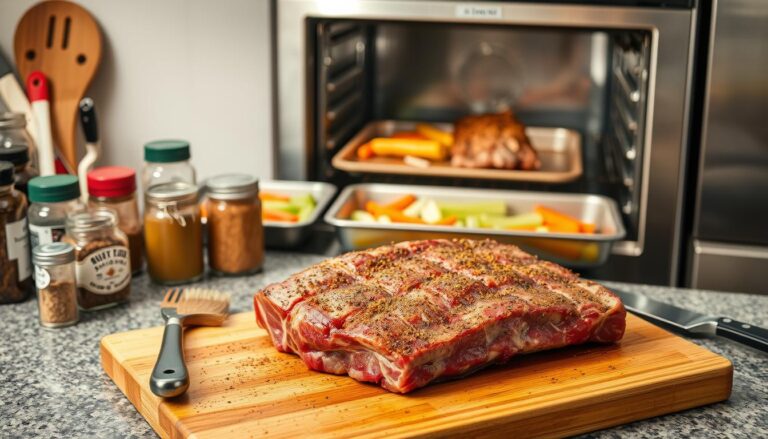
Preparing the Meat
Start by selecting lean cuts like top round or flank steak. These cuts have minimal fat, which prevents spoilage and ensures a longer shelf life. Slice the meat against the grain for a tender, chewy texture.
Use a sharp knife or meat slicer for uniform thickness. Consistent slices dry evenly, preventing undercooked or overcooked pieces. Trim excess fat to enhance safety and flavor.
Making the Marinade
A great marinade balances acid, salt, sweetness, and aromatics. Start with a base of soy sauce or Worcestershire sauce for umami depth. Add brown sugar for sweetness and preservation.
Include garlic and onion powder for aromatic complexity. For heat, red pepper flakes or habanero variations add a spicy kick. Liquid smoke infuses a smoky flavor, perfect for a rich taste.
Marinating the Beef
Place the sliced meat in a zip-top bag or glass dish. Pour the marinade over the meat, ensuring even coverage. Seal the bag or cover the dish, then refrigerate for at least 4 hours.
For best results, marinate overnight. This allows the flavors to penetrate deeply. Avoid exceeding 24 hours to maintain food safety.
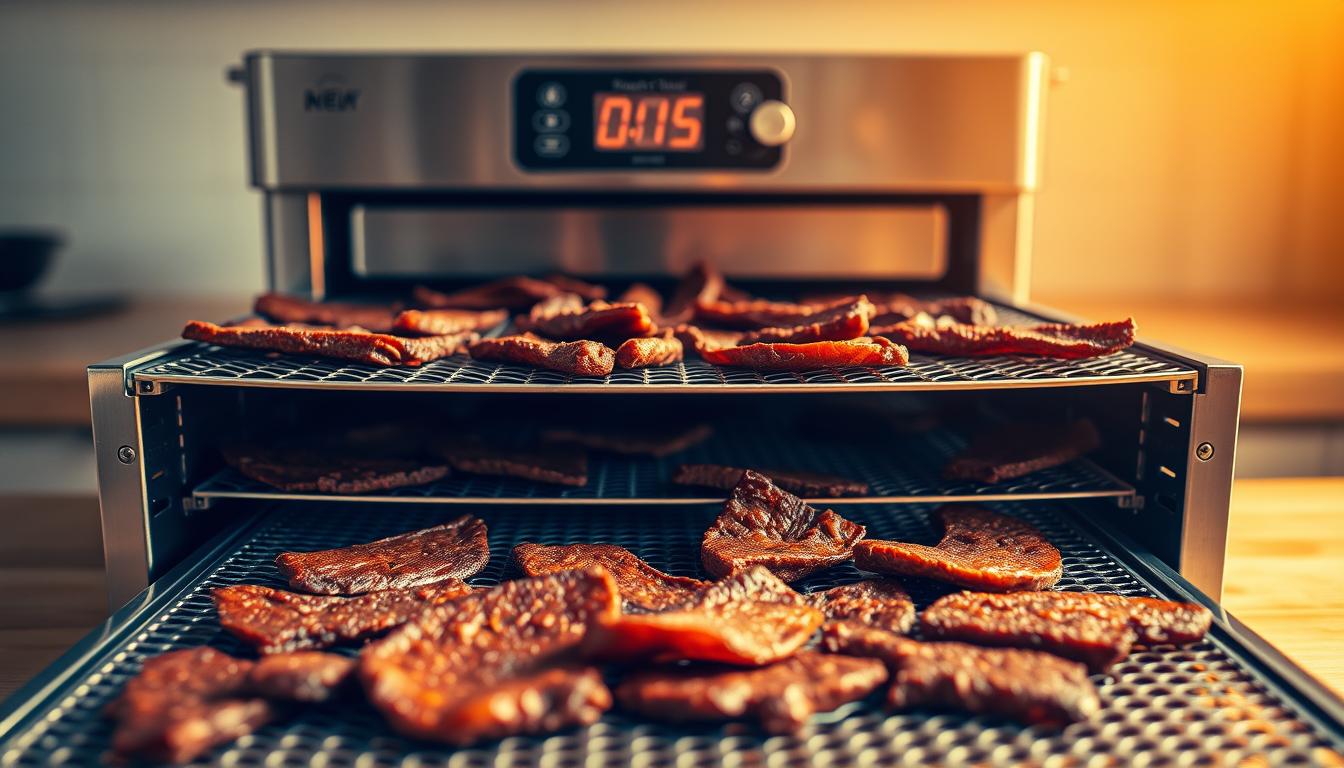
Dehydrating the Beef
Preheat your dehydrator for 15 minutes. This ensures consistent drying from the start. Arrange the marinated slices on the rack, leaving 1/4″ space between pieces for proper airflow.
Rotate the trays every 2 hours to ensure even drying. Check for doneness using the bend test: the jerky should bend without breaking. Use a digital thermometer to verify an internal temperature of 160°F.
Once done, let the jerky rest for 30 minutes. This allows the flavors to settle and the texture to firm up. Store in an airtight container for up to 2 weeks.
| Step | Key Tips |
|---|---|
| Preparing the Meat | Slice against the grain, trim excess fat |
| Making the Marinade | Balance acid, salt, sweetness, aromatics |
| Marinating the Beef | Refrigerate for 4-24 hours |
| Dehydrating the Beef | Rotate trays every 2 hours |
Tips for Perfect Beef Jerky
Achieving the perfect snack requires attention to detail and a few expert tips. Start by ensuring your pieces are uniform in thickness. Using a caliper helps maintain consistency, which is crucial for even drying.
Blotting excess marinade before dehydrating prevents sogginess. This step ensures your snack dries evenly and retains its texture. For a bold flavor, try a black pepper crust technique. It adds a spicy kick and enhances the overall taste.
Trim excess fat using kitchen shears or a paring knife. This step not only improves shelf life but also prevents spoilage. Proper fat trimming ensures your snack stays fresh and safe to eat.
Humidity control is essential, especially during rainy seasons. High moisture levels can affect drying times and texture. Adjust your dehydrator settings or use a dehumidifier to maintain optimal conditions.
For a chewier texture, let your snack acclimate for a few hours after dehydration. This process allows the flavors to settle and the texture to firm up. It’s a simple step that makes a big difference.
Post-dehydration seasoning can add depth to your snack. Sprinkle additional spices or herbs for a layered flavor profile. This technique is perfect for customizing your snack to your taste preferences.
If you encounter case hardening, where the outside dries too quickly, reduce the temperature slightly. This troubleshooting tip ensures your snack dries evenly without becoming tough on the outside.
Presentation matters, especially if you’re gifting your snack. Use airtight containers or vacuum-sealed bags for a professional look. Add a personalized label for a thoughtful touch.
| Issue | Solution |
|---|---|
| Uneven Thickness | Use a caliper for uniform slices |
| Excess Marinade | Blot before dehydrating |
| High Humidity | Adjust dehydrator settings |
| Case Hardening | Lower temperature slightly |
These tips ensure your snack is not only delicious but also visually appealing. With a little practice, you’ll master the art of creating the perfect snack every time.
Alternative Methods: Oven vs. Dehydrator
Exploring different methods for preparing snacks can elevate your results. While a dehydrator is the go-to tool, an oven offers a viable alternative. Each method has unique benefits, and understanding them helps you choose the right approach for your needs.
Using an oven requires some adjustments. Start by setting the temperature to 160°F, similar to a dehydrator. Prop the door open slightly to allow airflow, ensuring even drying. This technique prevents moisture buildup and mimics a dehydrator’s function.
Energy costs vary between the two methods. A dehydrator typically uses 0.5 kWh, while an oven consumes around 2 kWh. For longer drying time, a dehydrator is more energy-efficient. However, an oven works well for smaller batches.
Texture differences are noticeable. An oven tends to produce crispier results, while a dehydrator yields a chewier texture. For fatty cuts, monitor the smoke point to avoid burning. Using an aluminum foil drip tray can prevent messes and maintain flavor.
For a hybrid approach, start in the oven and finish in a smoker. This method combines the convenience of baking with the rich, smoky flavor of traditional jerky. Experiment with these techniques to find your preferred style.
| Method | Pros | Cons |
|---|---|---|
| Oven | Faster drying, crispier texture | Higher energy use, uneven airflow |
| Dehydrator | Energy-efficient, consistent results | Longer drying time |
Both methods are approved for commercial kitchens, ensuring safety and quality. Whether you choose an oven or a dehydrator, proper technique guarantees delicious results. Try both to discover which suits your preferences and lifestyle.
Conclusion
Perfecting your homemade snack is both rewarding and practical. Always ensure the internal temperature reaches 165°F for safety. Experiment with flavors like teriyaki, spicy, or smoky to find your favorite recipe.
Store your creations in airtight containers for up to a week at room temperature. This process isn’t just about food—it’s about creating traditions. Share your beef jerky with family and friends, or even try wild game for a new challenge.
Over six months, making snacks at home saves money and reduces packaging waste. Join the community of DIY enthusiasts and submit your unique recipes. For more tips, visit the USDA’s food safety resources.
FAQ
how to make beef jerky?
how to make beef jerky in the oven?
how to make beef jerky with a dehydrator?
how to make beef jerky in a dehydrator?
how to make beef jerky in a smoker?
How long should the beef marinate for maximum flavor?
Can you use an oven if you don’t own a dehydrator?
What’s the key to a great marinade?
How thin should the beef slices be?
How do you store homemade jerky?
Why is my jerky too tough or chewy?
Can you reuse marinade?
For more cooking tips, stay connected with us. We also recommend the cookbook Skinnytaste Simple: Easy, Healthy Recipes with 7 Ingredients or Fewer
For more Recipes about Beef?